How to make a dried New England leaf garland and metallic pumpkin topiaries
What started out as a day of "just going to rake and trim vines", turned into a DIY leaf garland project. I am thrilled at how it came out. I have made many fresh evergreen garlands, but this is a first for me with leaves. How long did it take? Once I got into the rhythm I would say the whole project totaled 4 or so hours. Next time, I will not hesitate to ask a group of friends over to help me make it in exchange for a cup of warm soup or chili by the fire pit after.


Any green that is popping through from the trumpet vine will be brown before I know it. That said I was careful not to add any green leaves to the garland since I knew it would bother me while I waited :-).
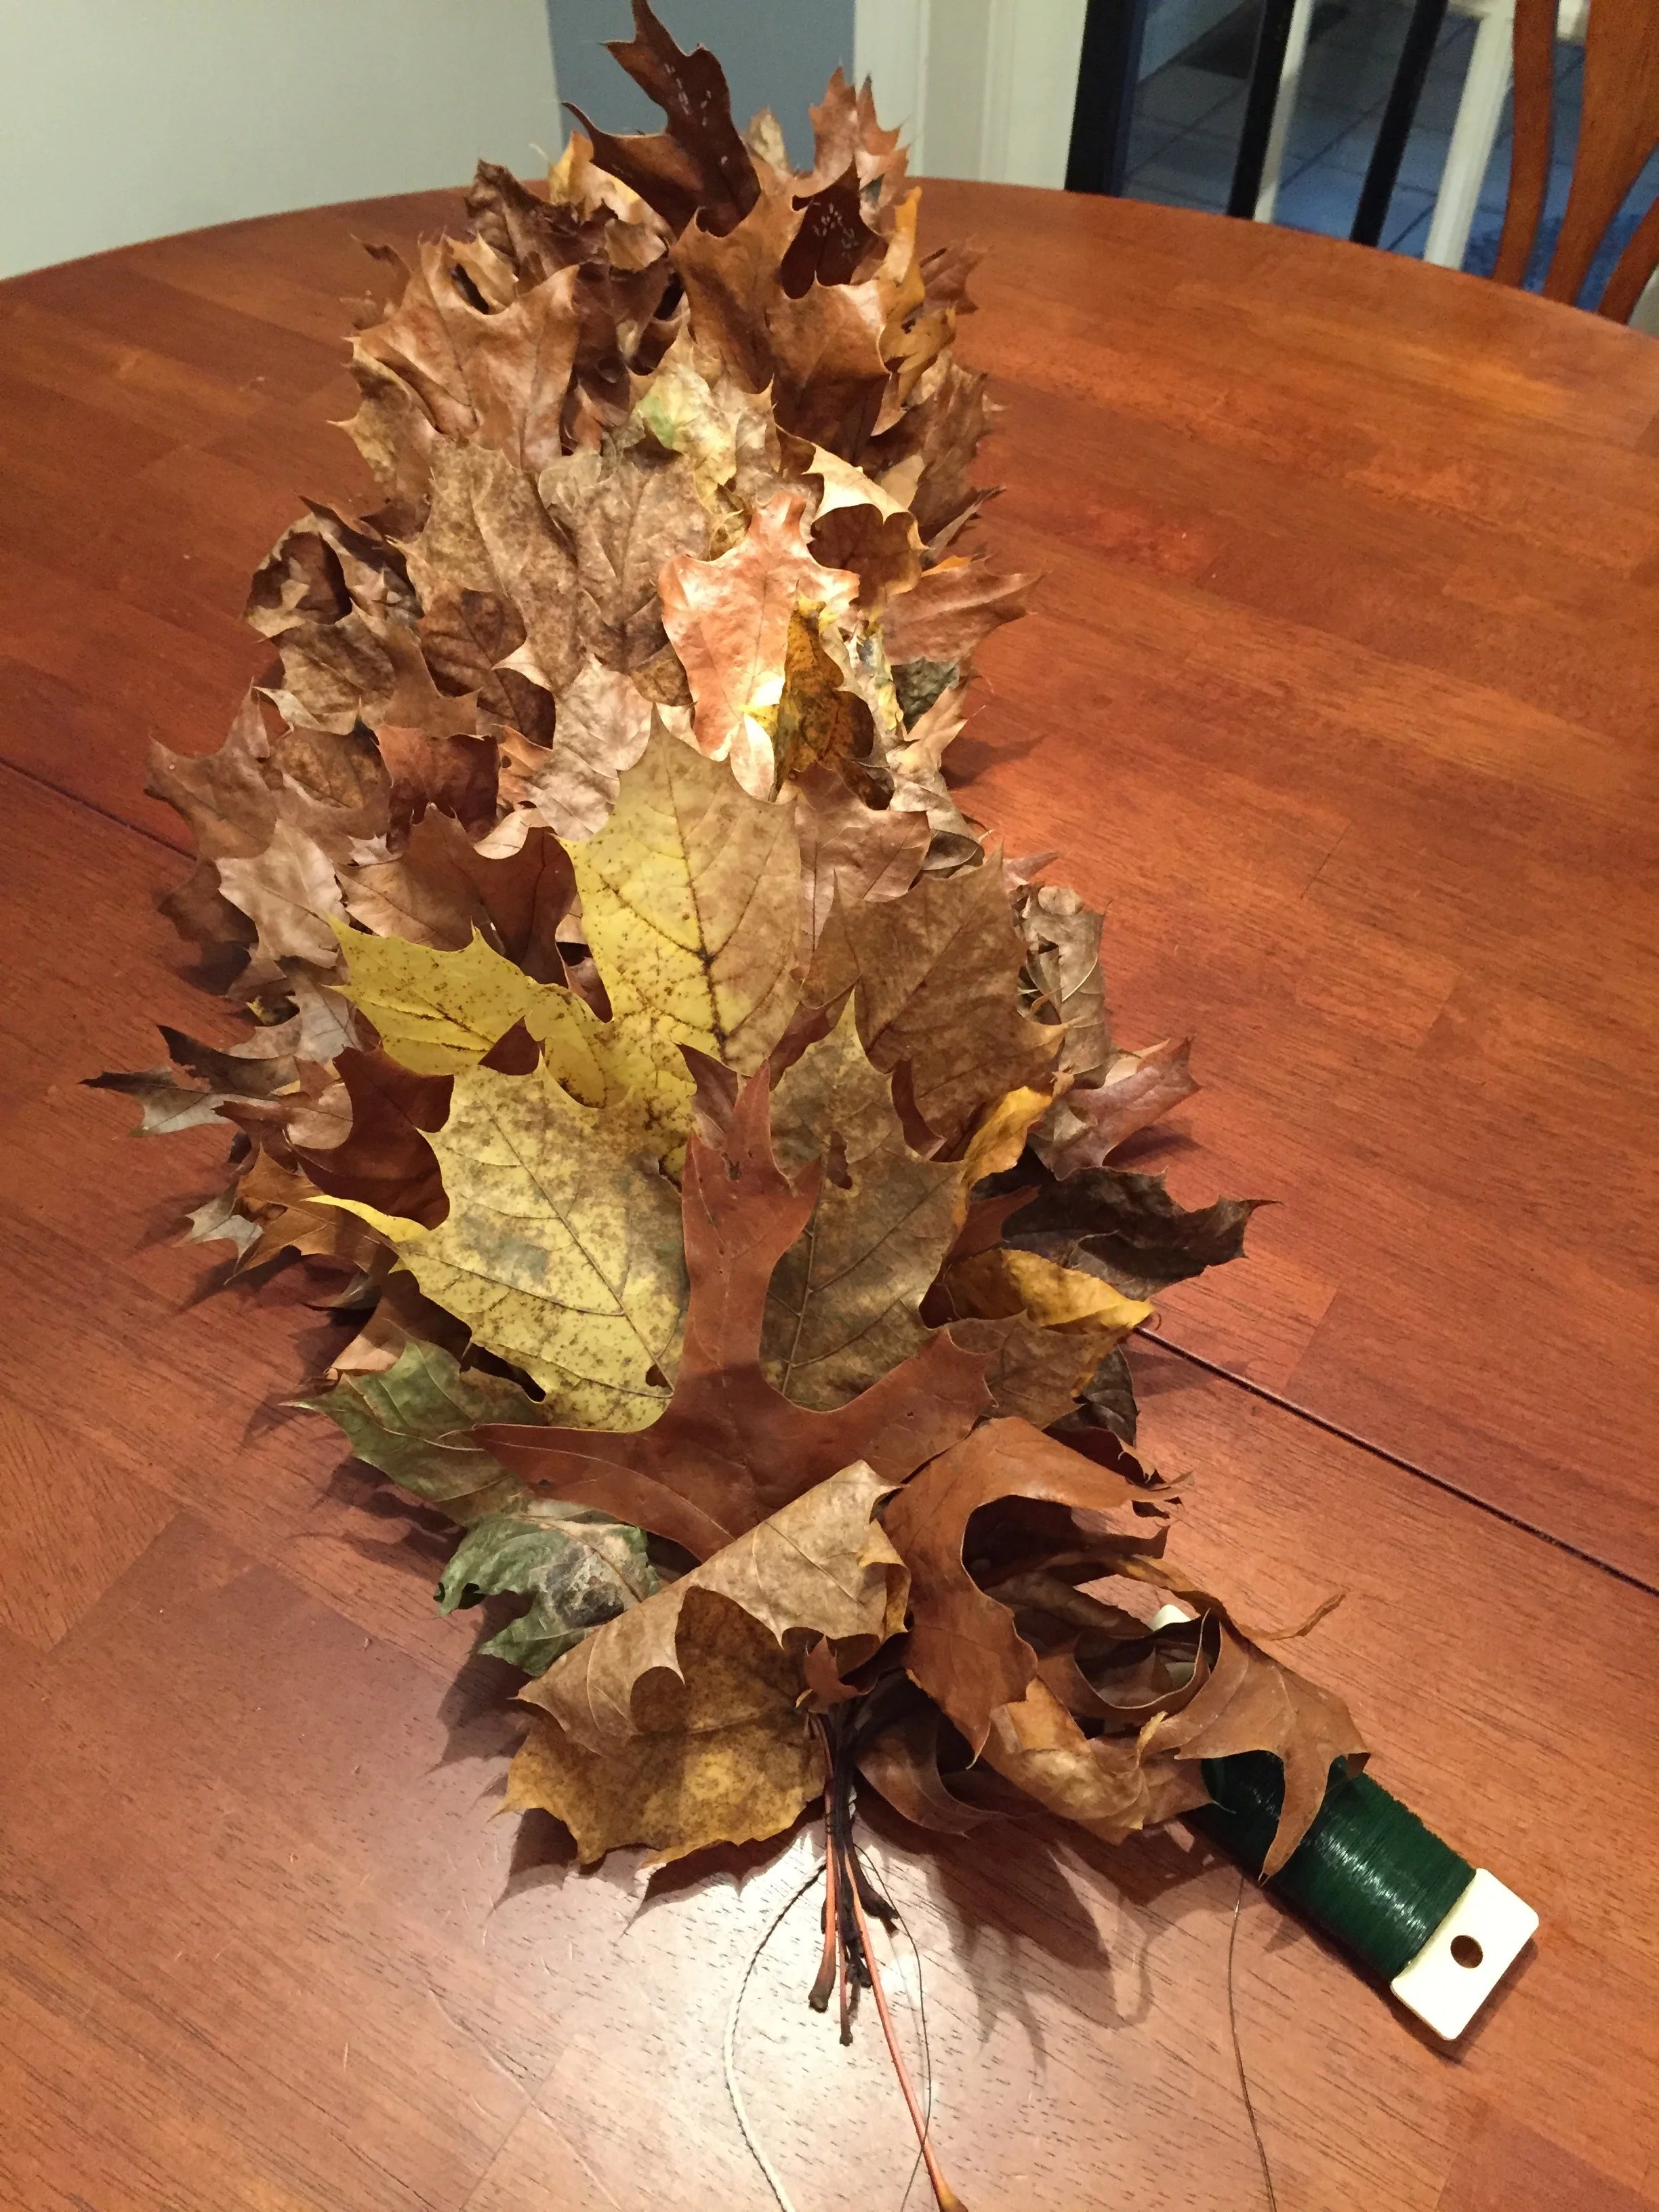
My garland was made with oak, maple, and hickory leaves. At first I was collecting "perfect" leaves that had no holes or broken edges, but realized that once they were bunched together, even the sad broken ones looked great.

Collect leaves with long stems. The larger the leaf, the faster your project will go.
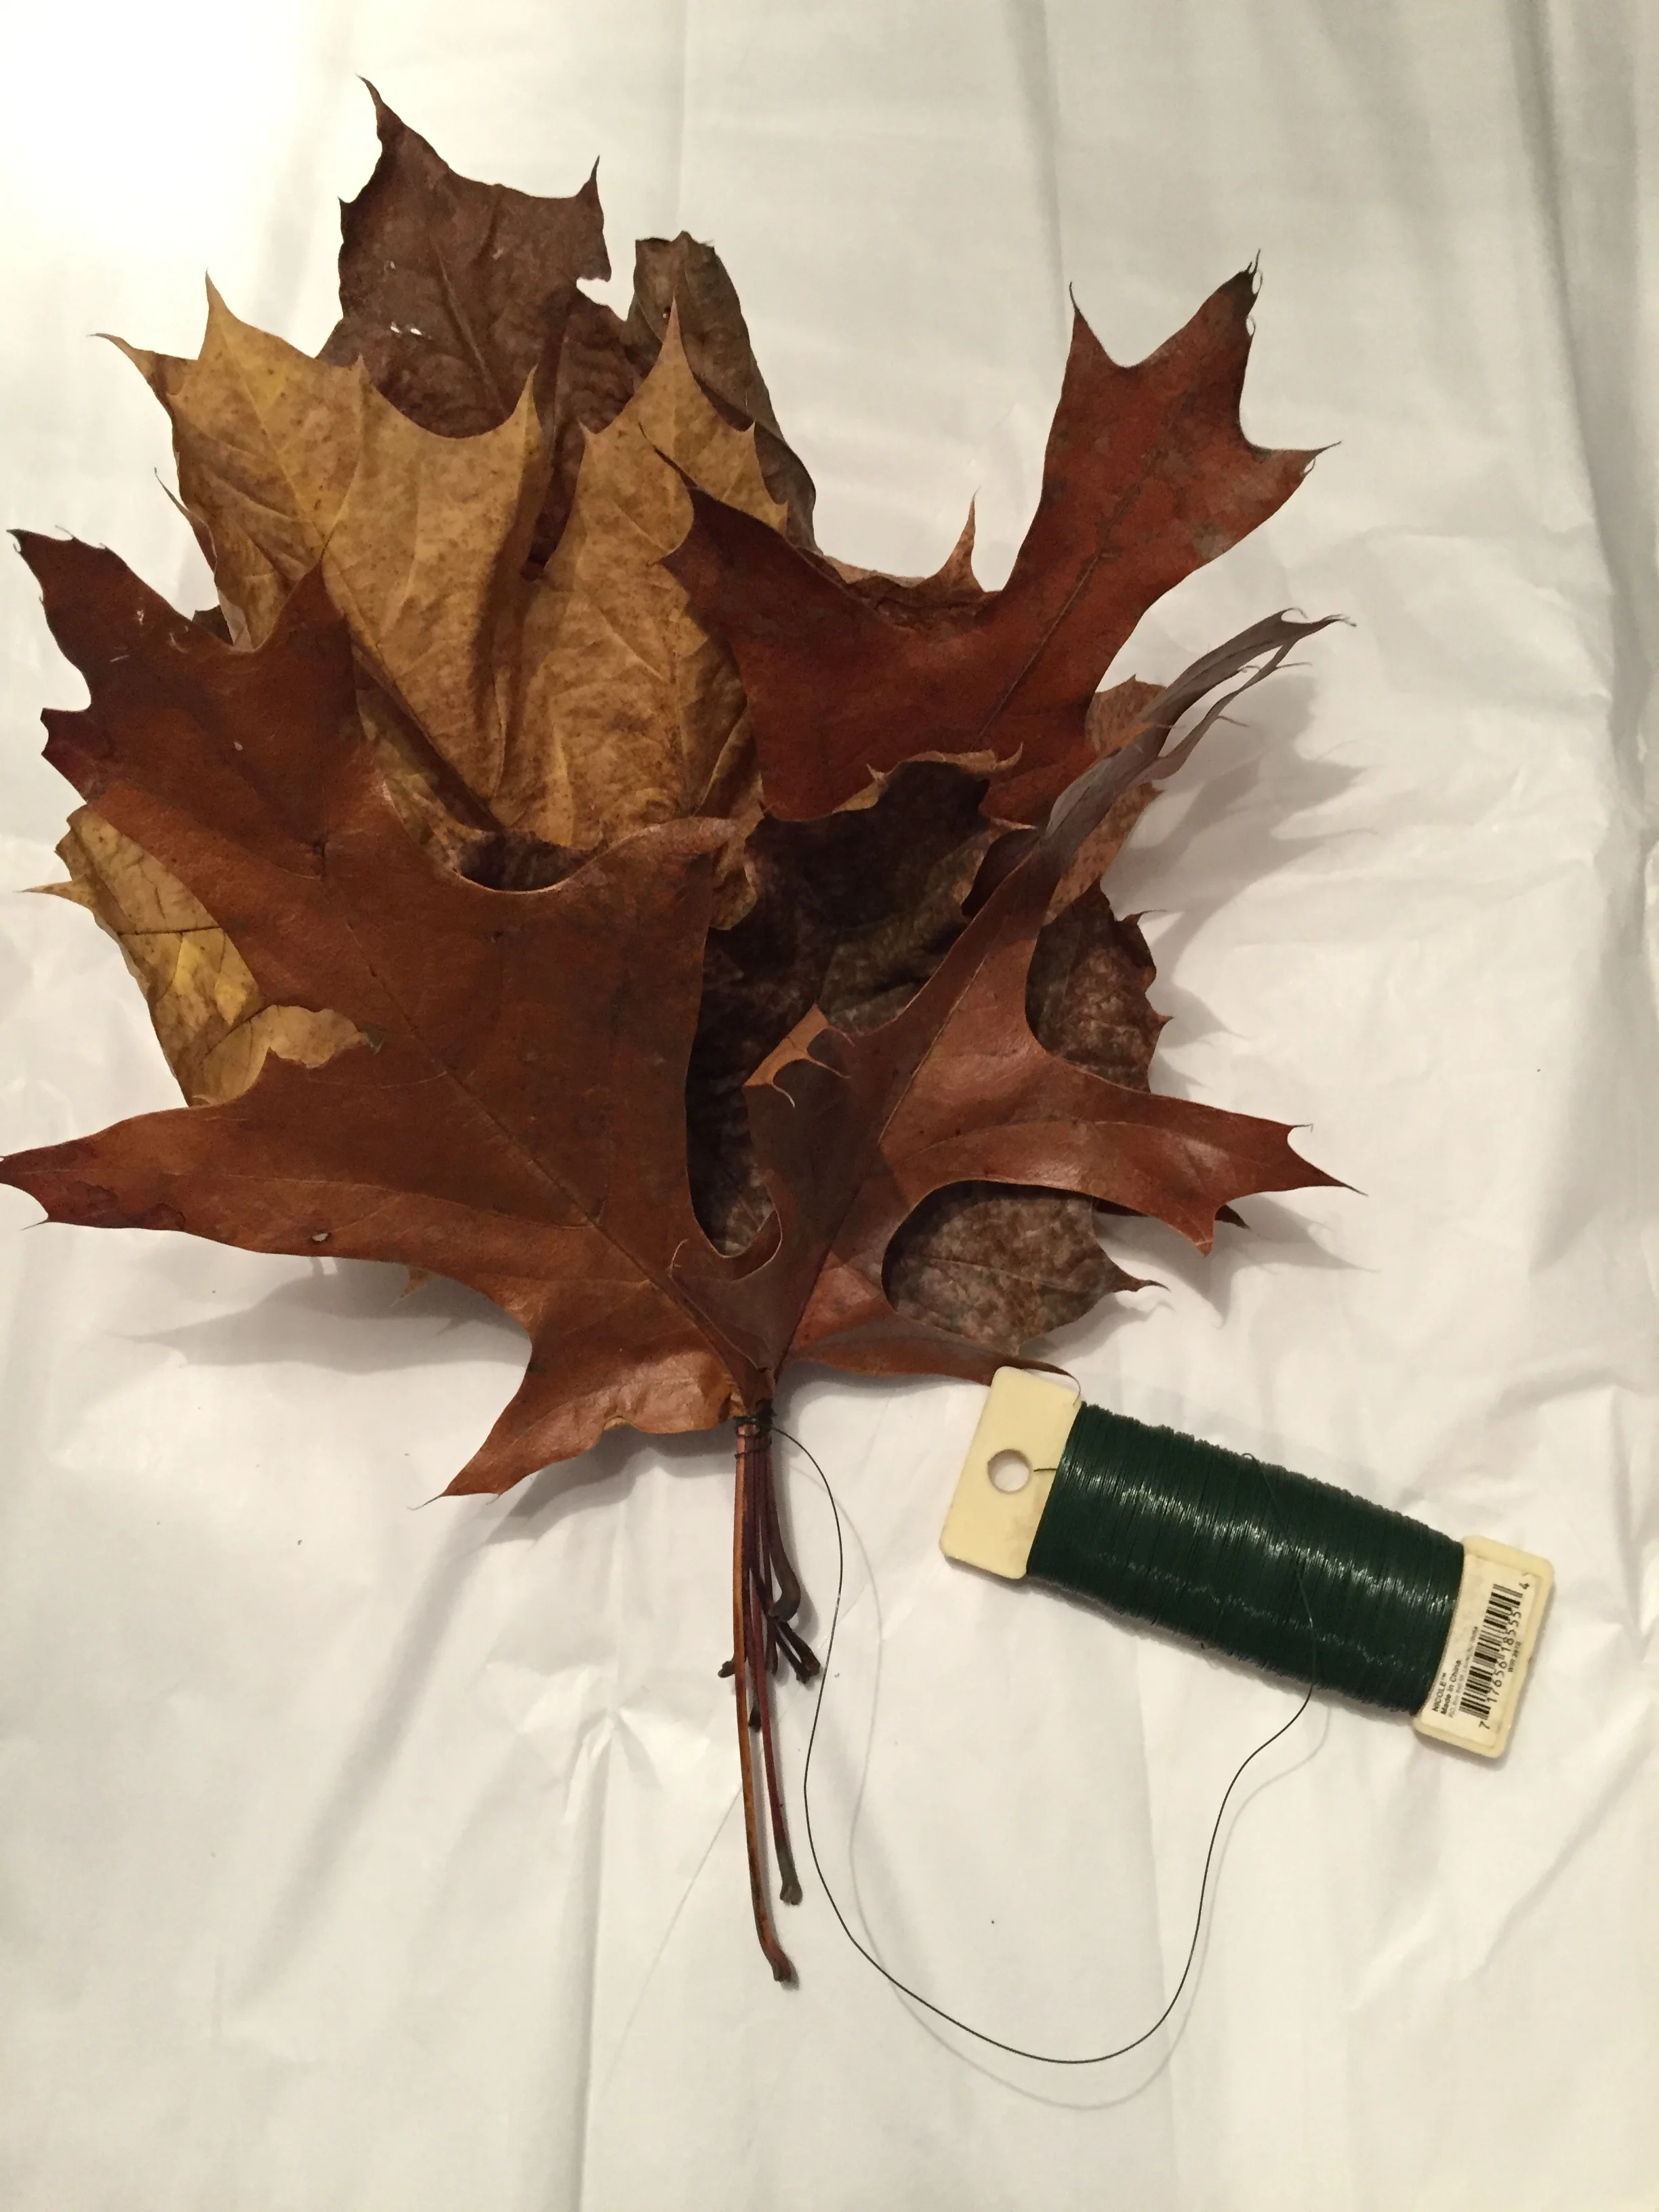
Attach your leaves together in a small bunch, for at least the first grouping. I was making bunches and attaching them as shown below, like I do with greens for Christmas, but I found it went much faster if I just held the bunches on and wrapped them tightly on the string.

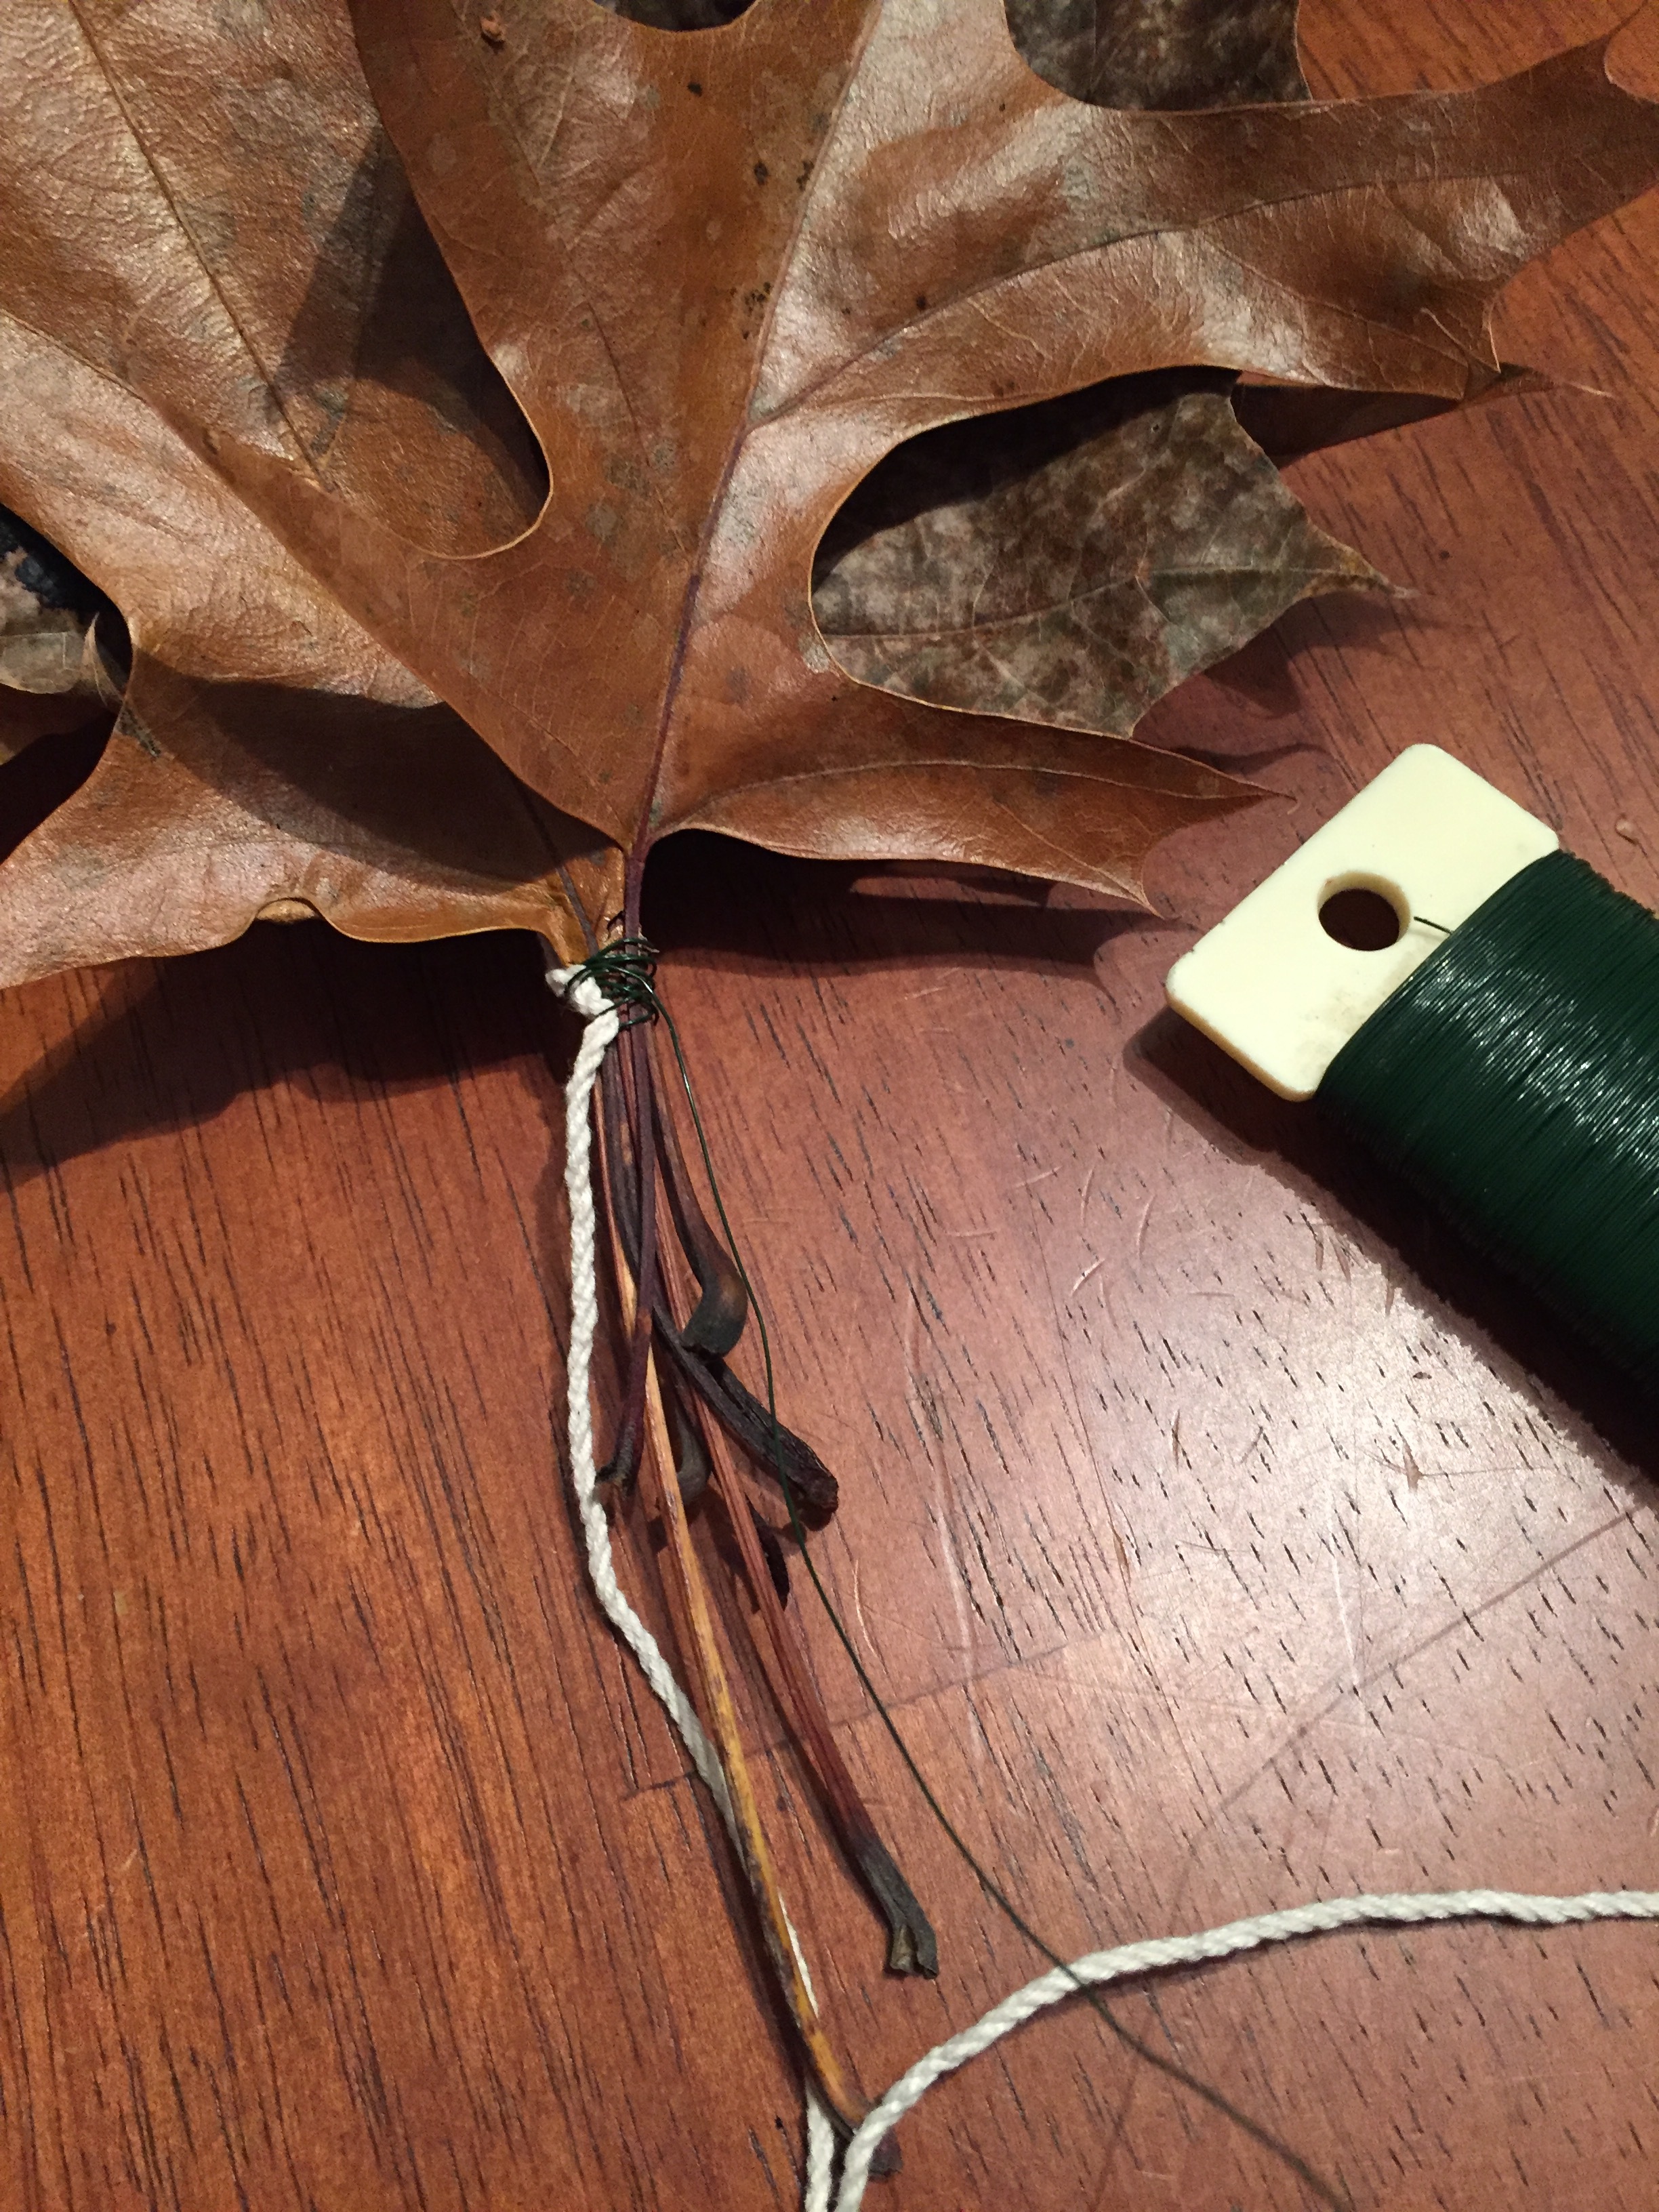
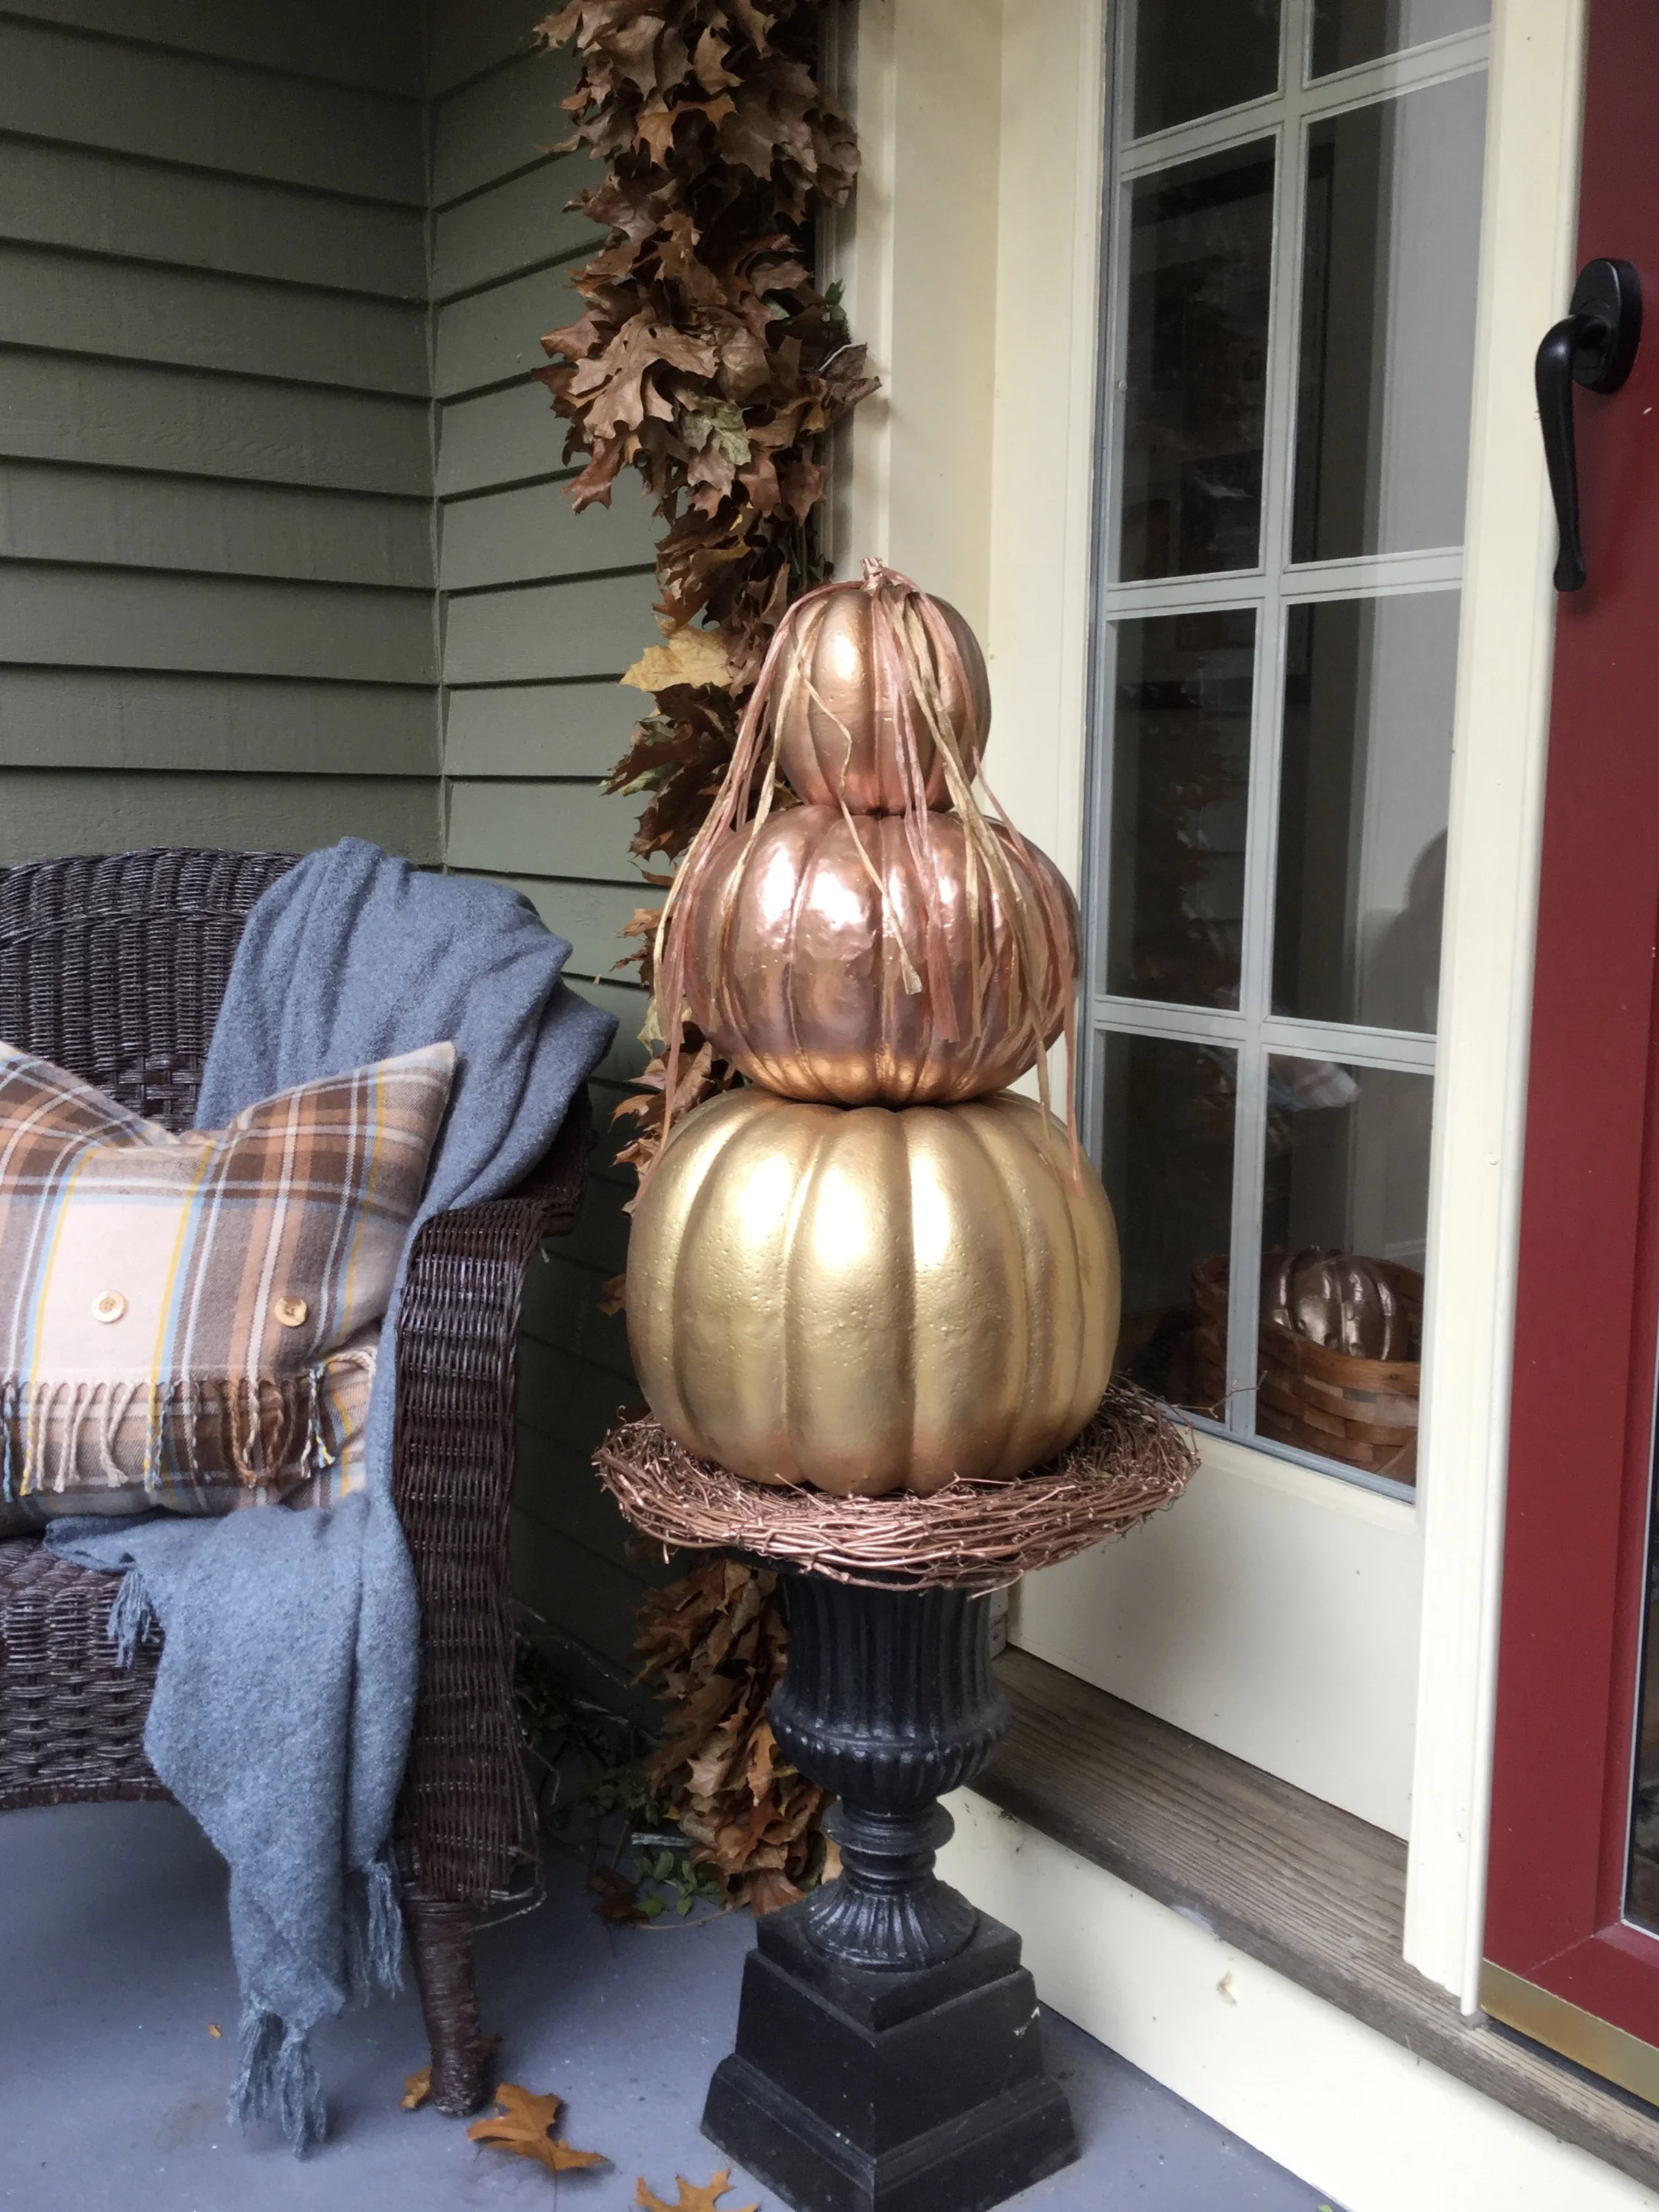
Attach your first bunch onto the string. The sting is going to be your base of the garland. For my front porch, I collected and put trumpet vines up thinking I would use that as the base, but ended up bringing my project inside, so I switched to the string.
Add the leaf bunches in layers and all in the same direction. I made two garlands that were then attached in the middle, at the center of my front door, so that the leaves would be in a downward position on each side.
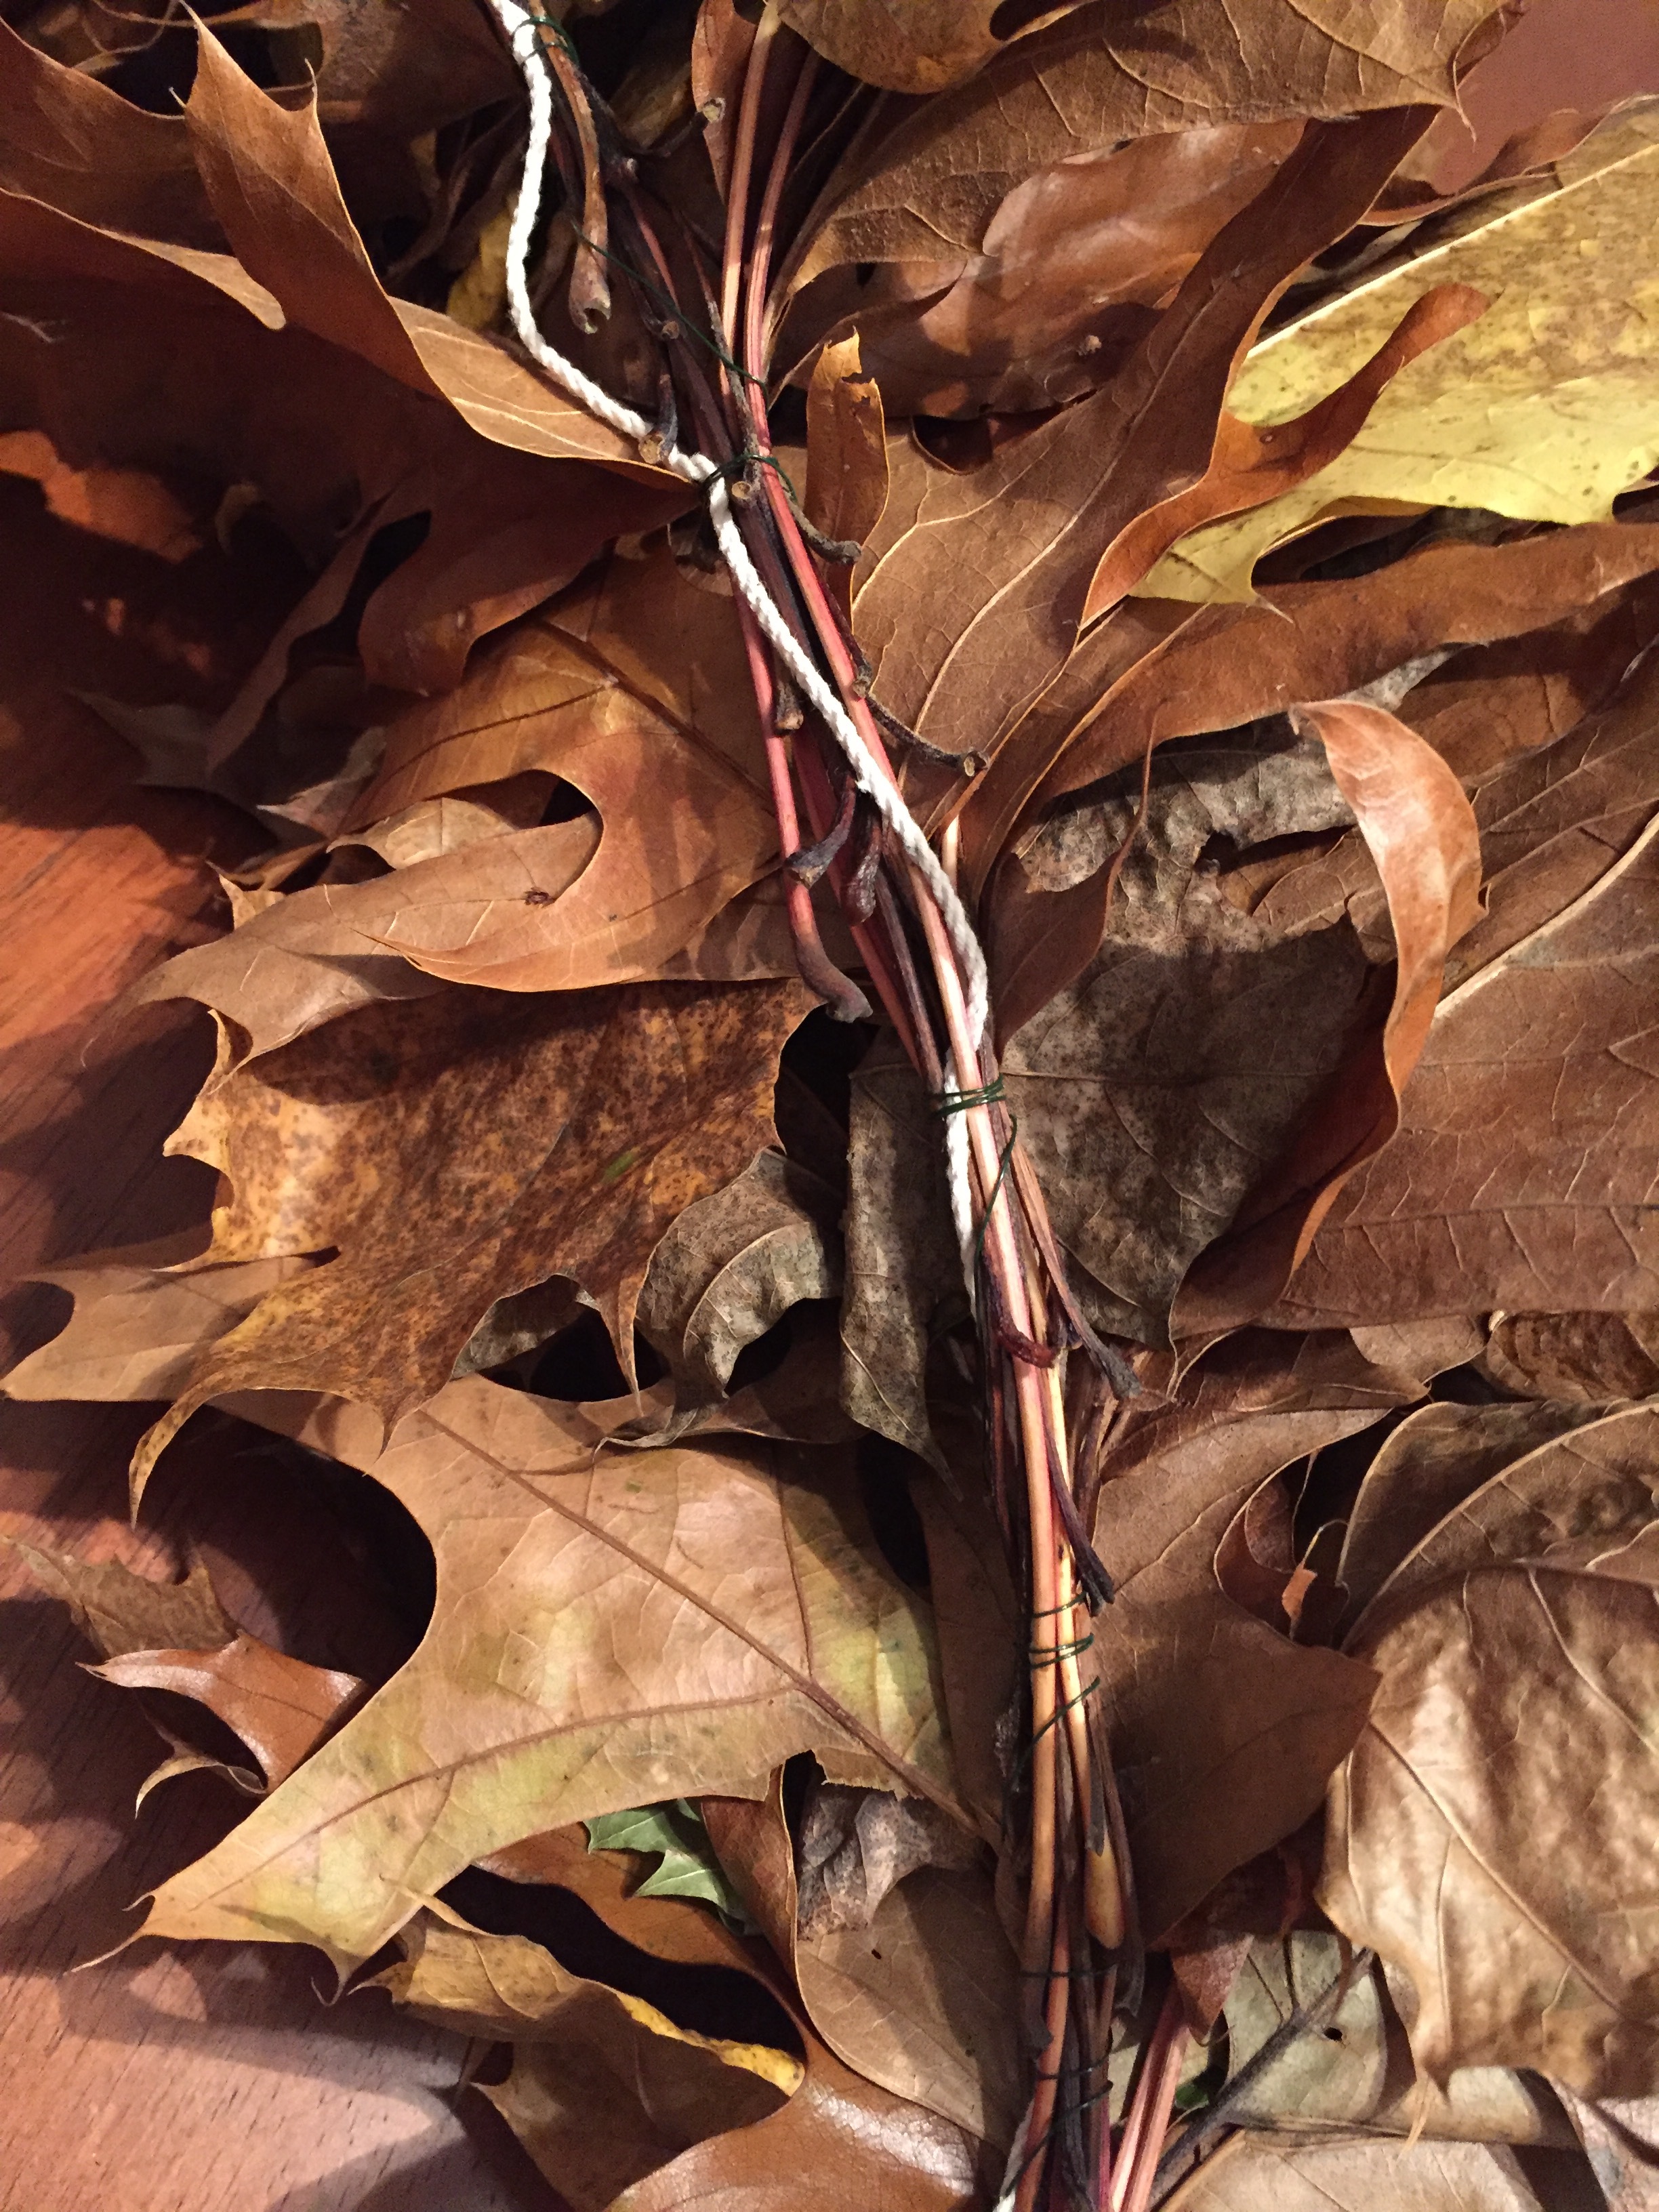
These photos are showing the backside of the leaf garland. Since it is going to be used against my house, I was okay with the unfinished back. If for some reason your garland will be seen from all sides, you could attach two garlands, back to back.
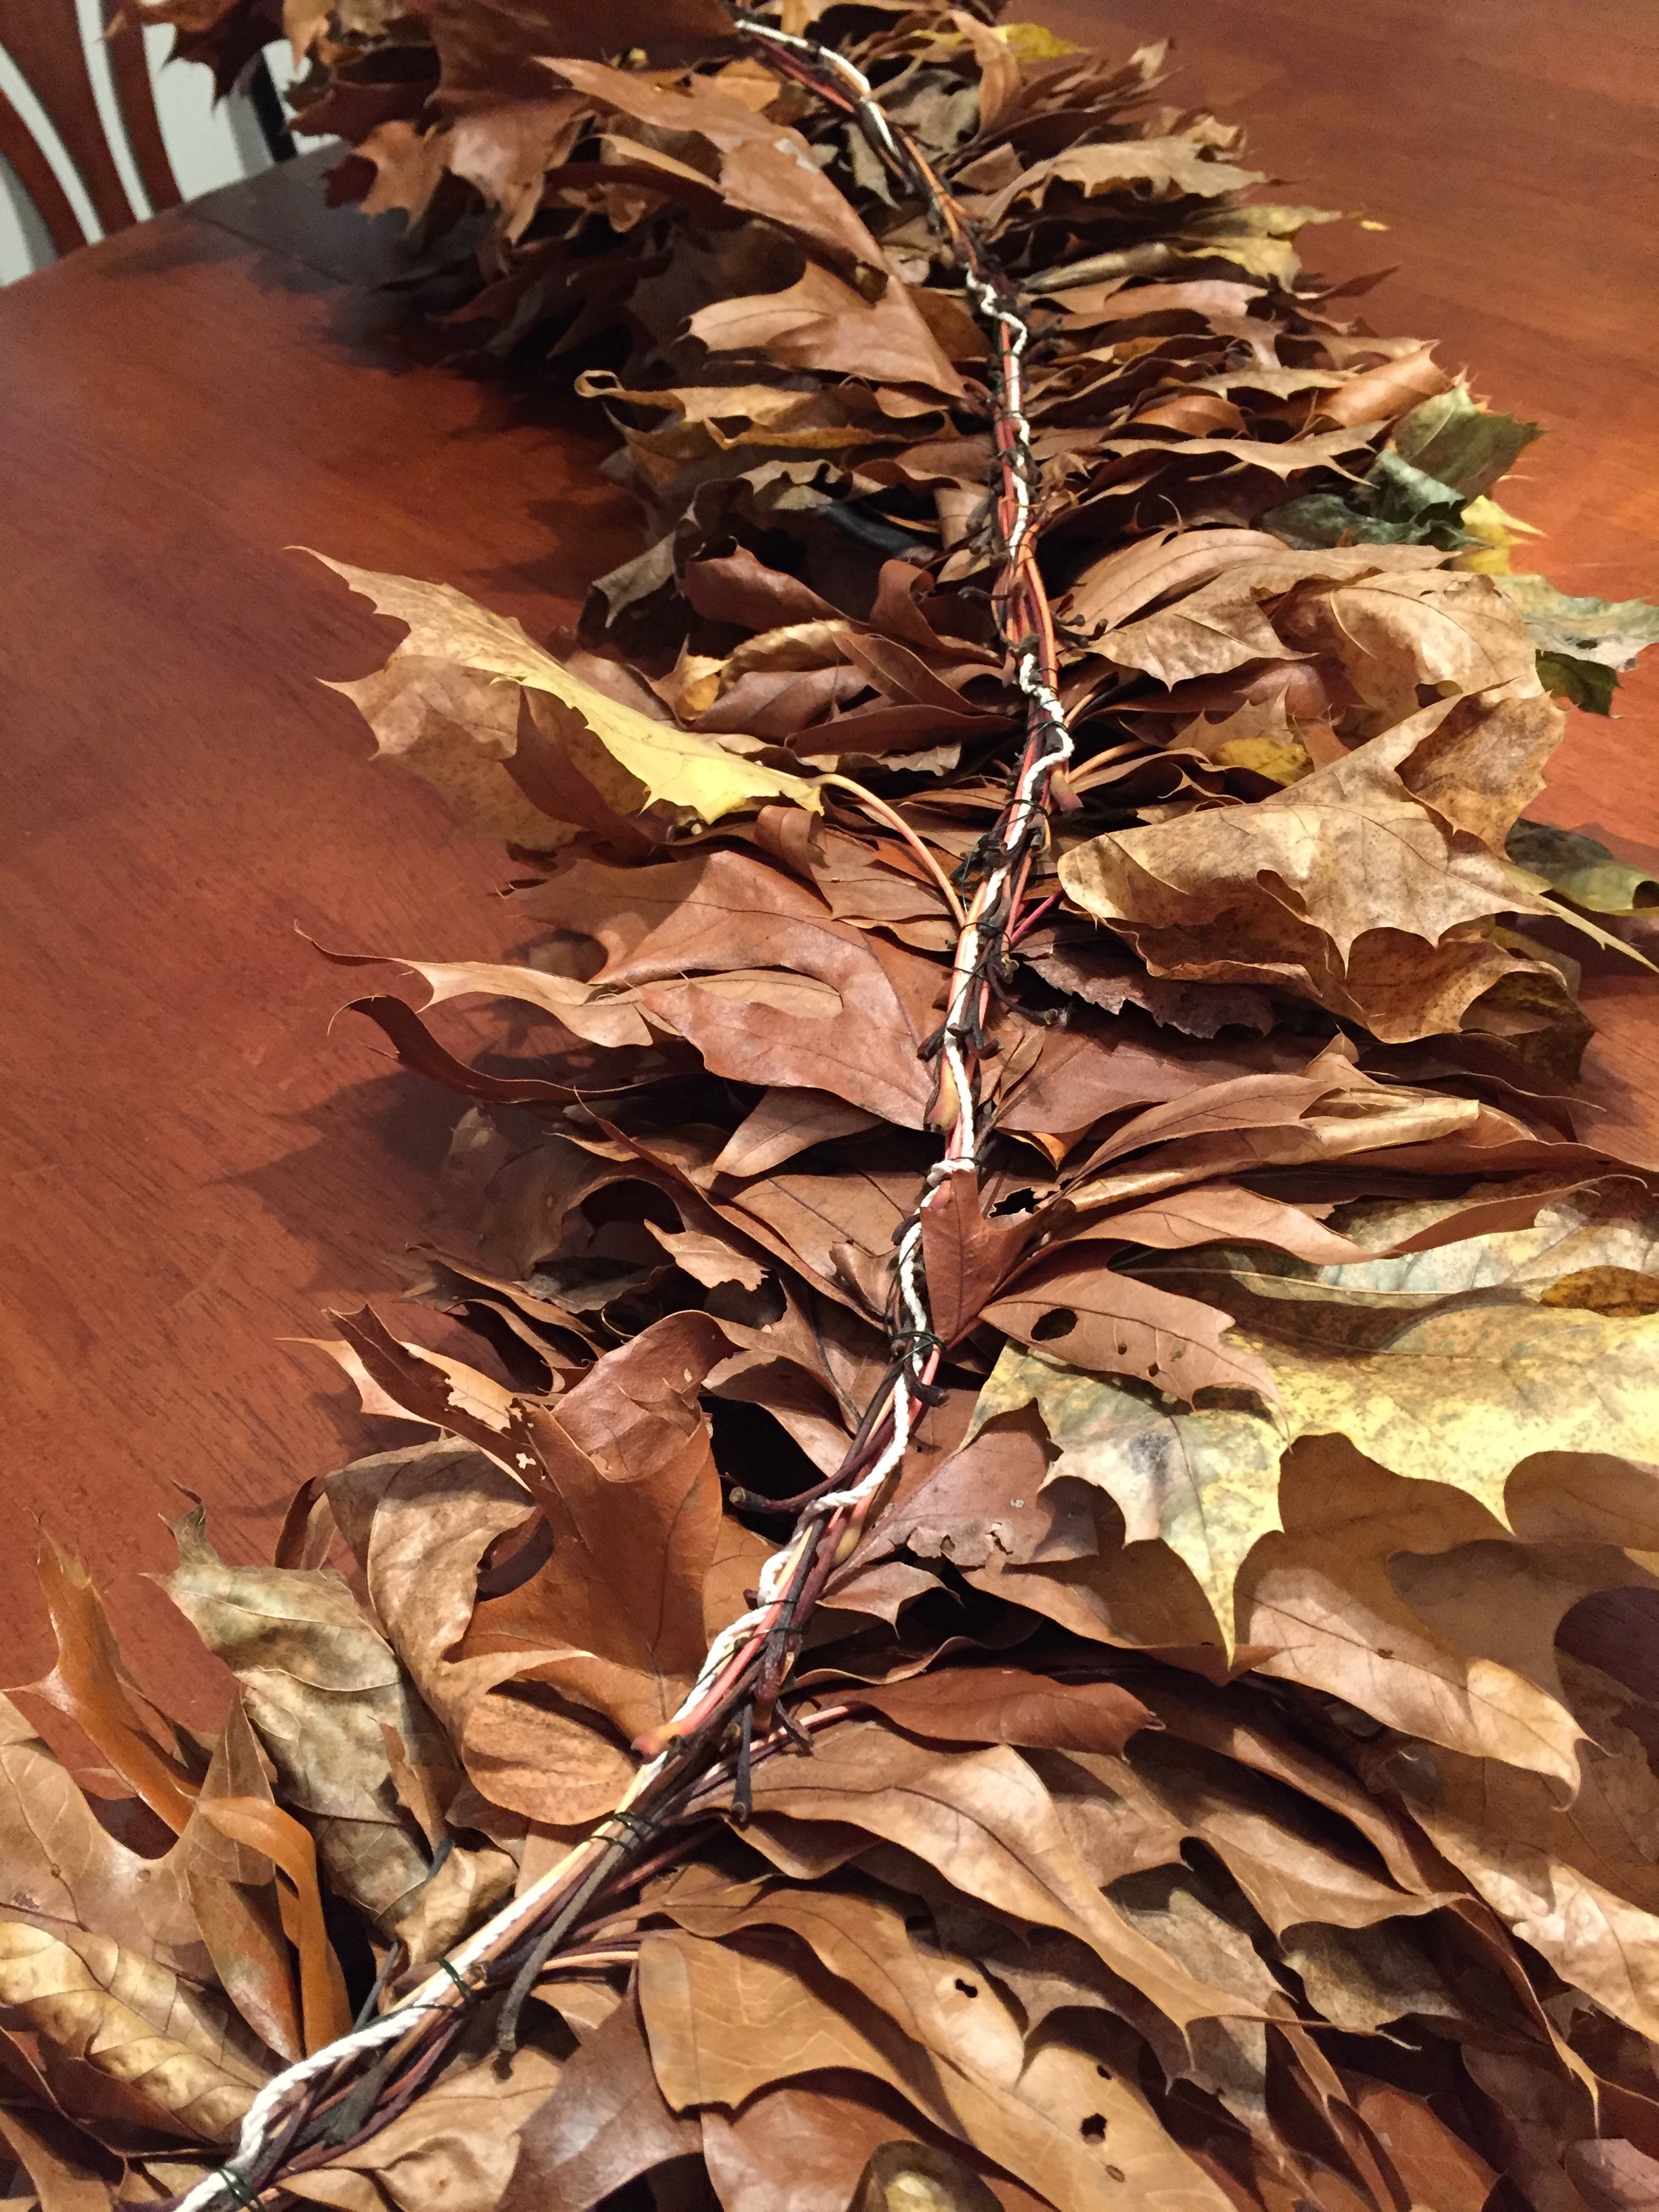

To make the project easier for me, I made the garland in pieces. This gave me the opportunity to stop and start the project when I wanted, in stages.
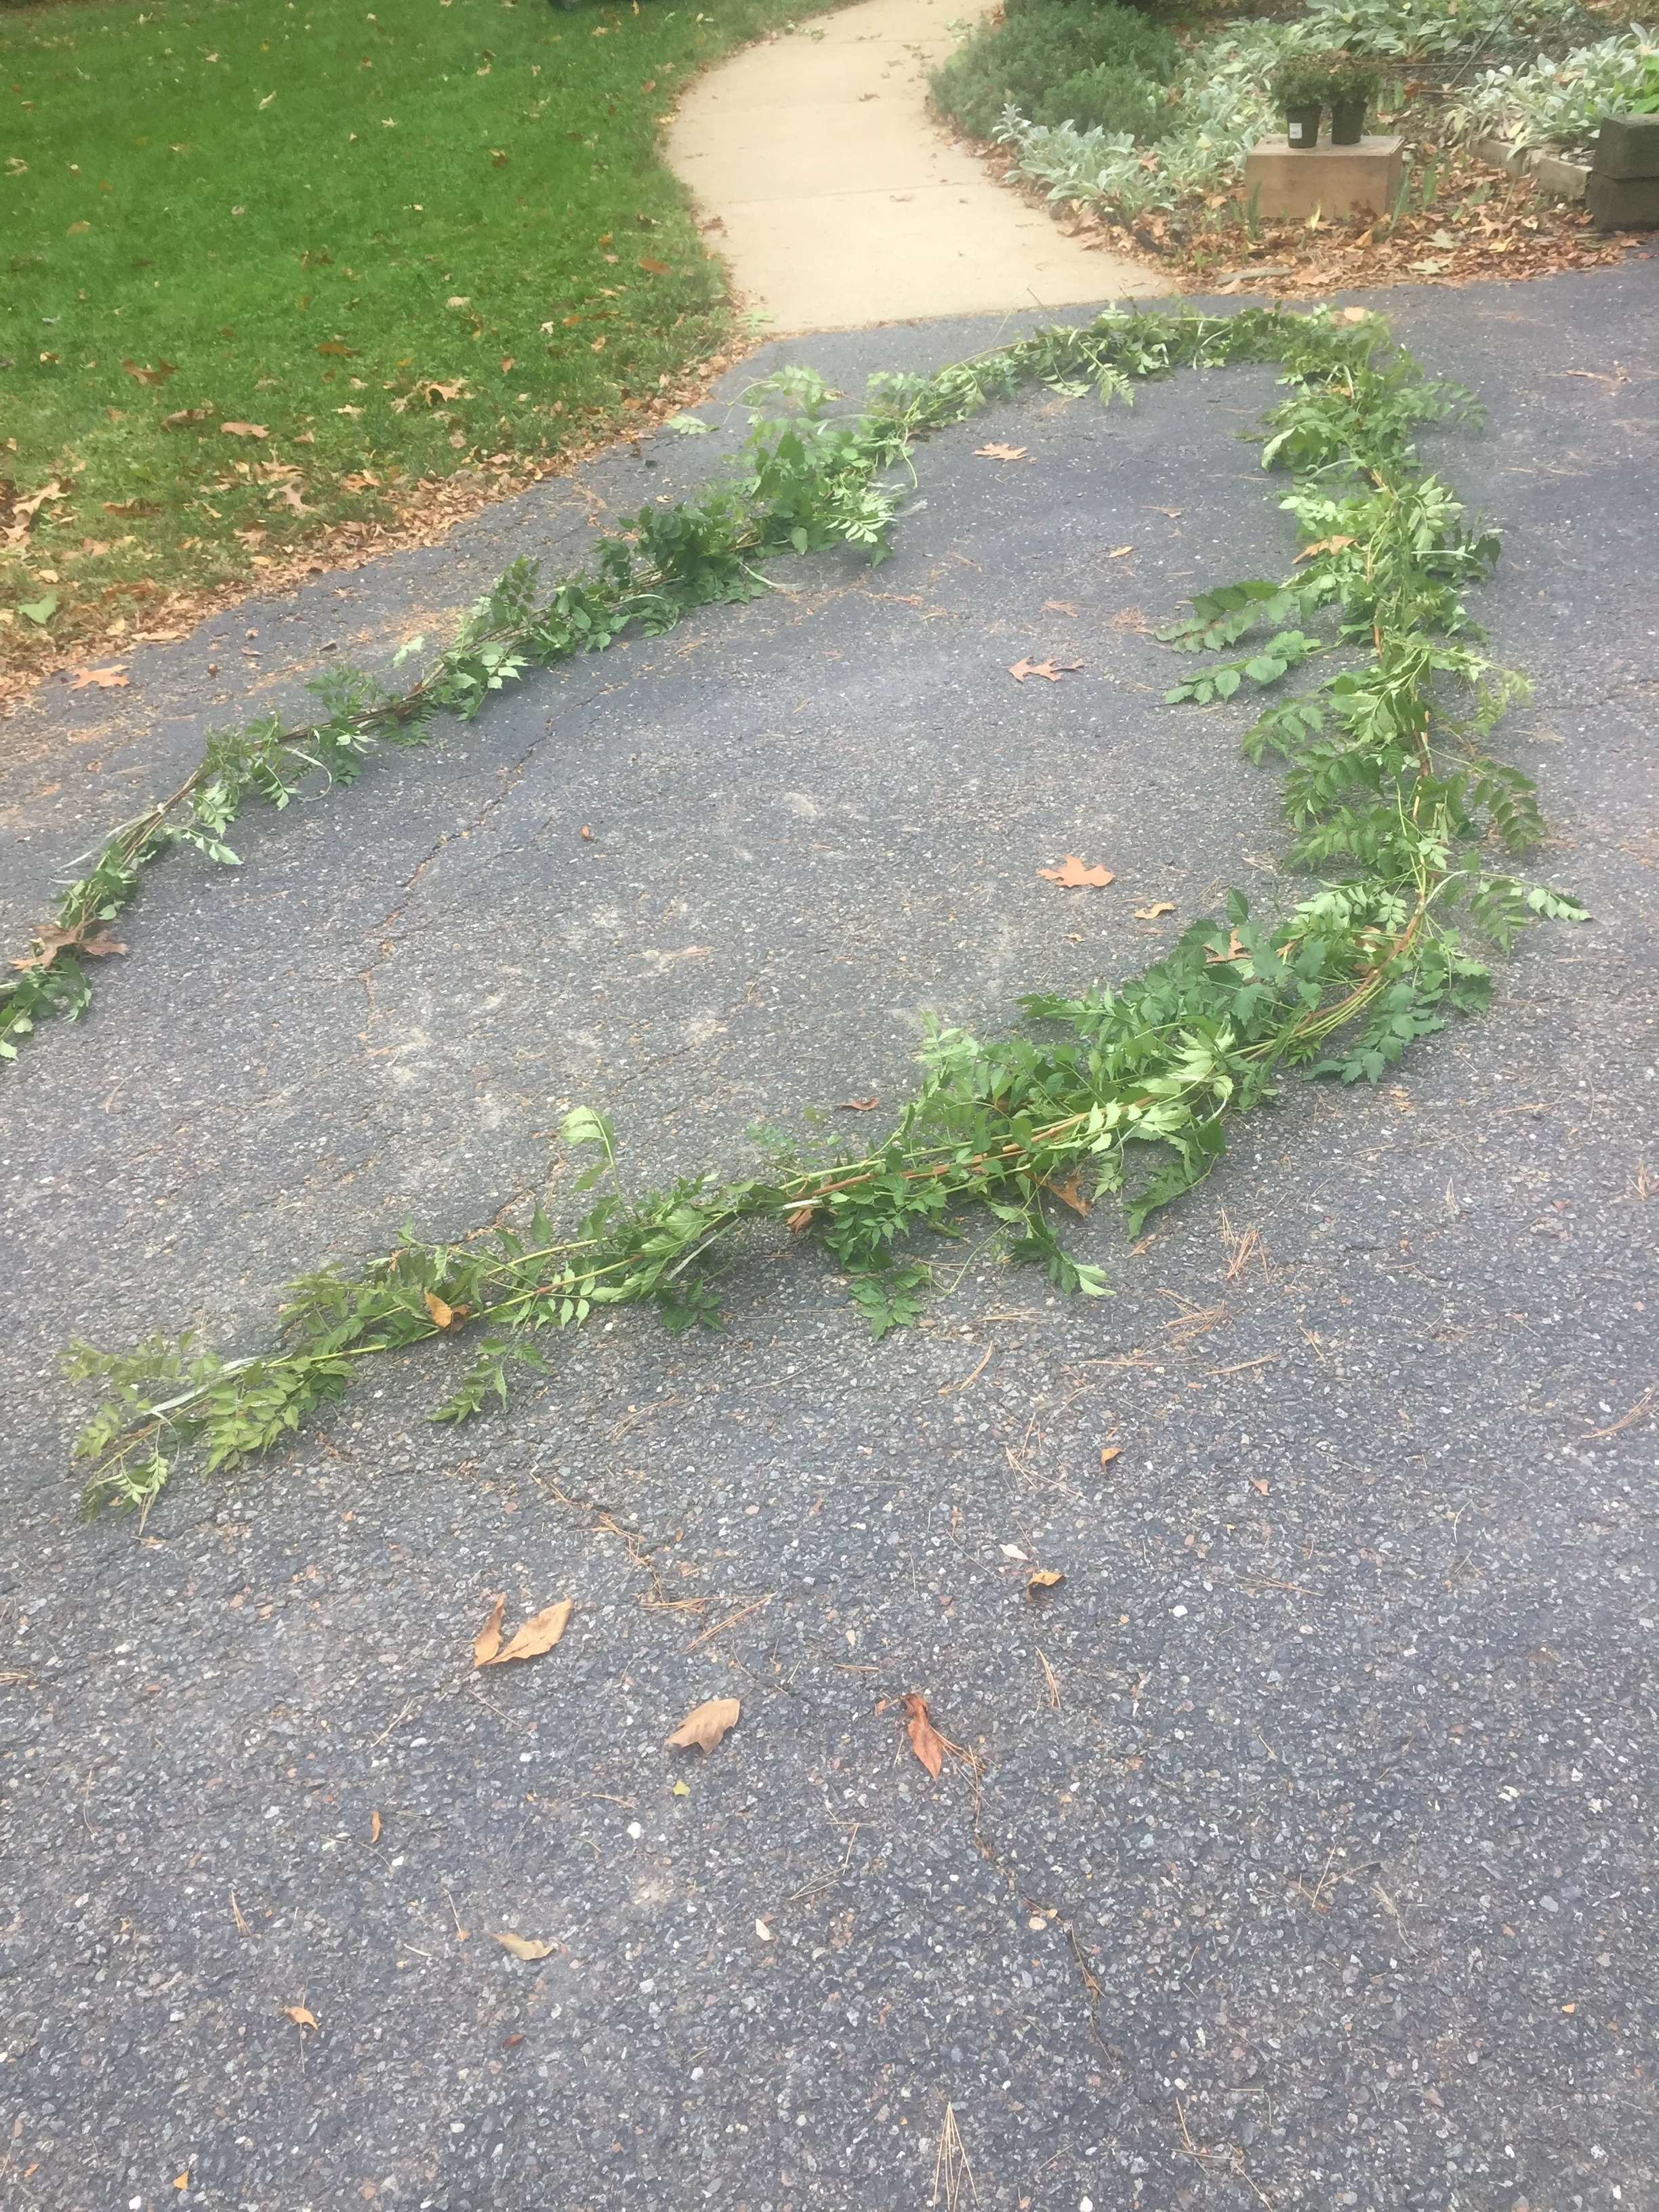
This is how it all began. Cut trumpet vines attached to each other and wound together. I was going to attach my bunches directly to this, but decided just to use it as a base. Once the leaf garland comes down, I might use it to attach or tuck in greens for Christmas.
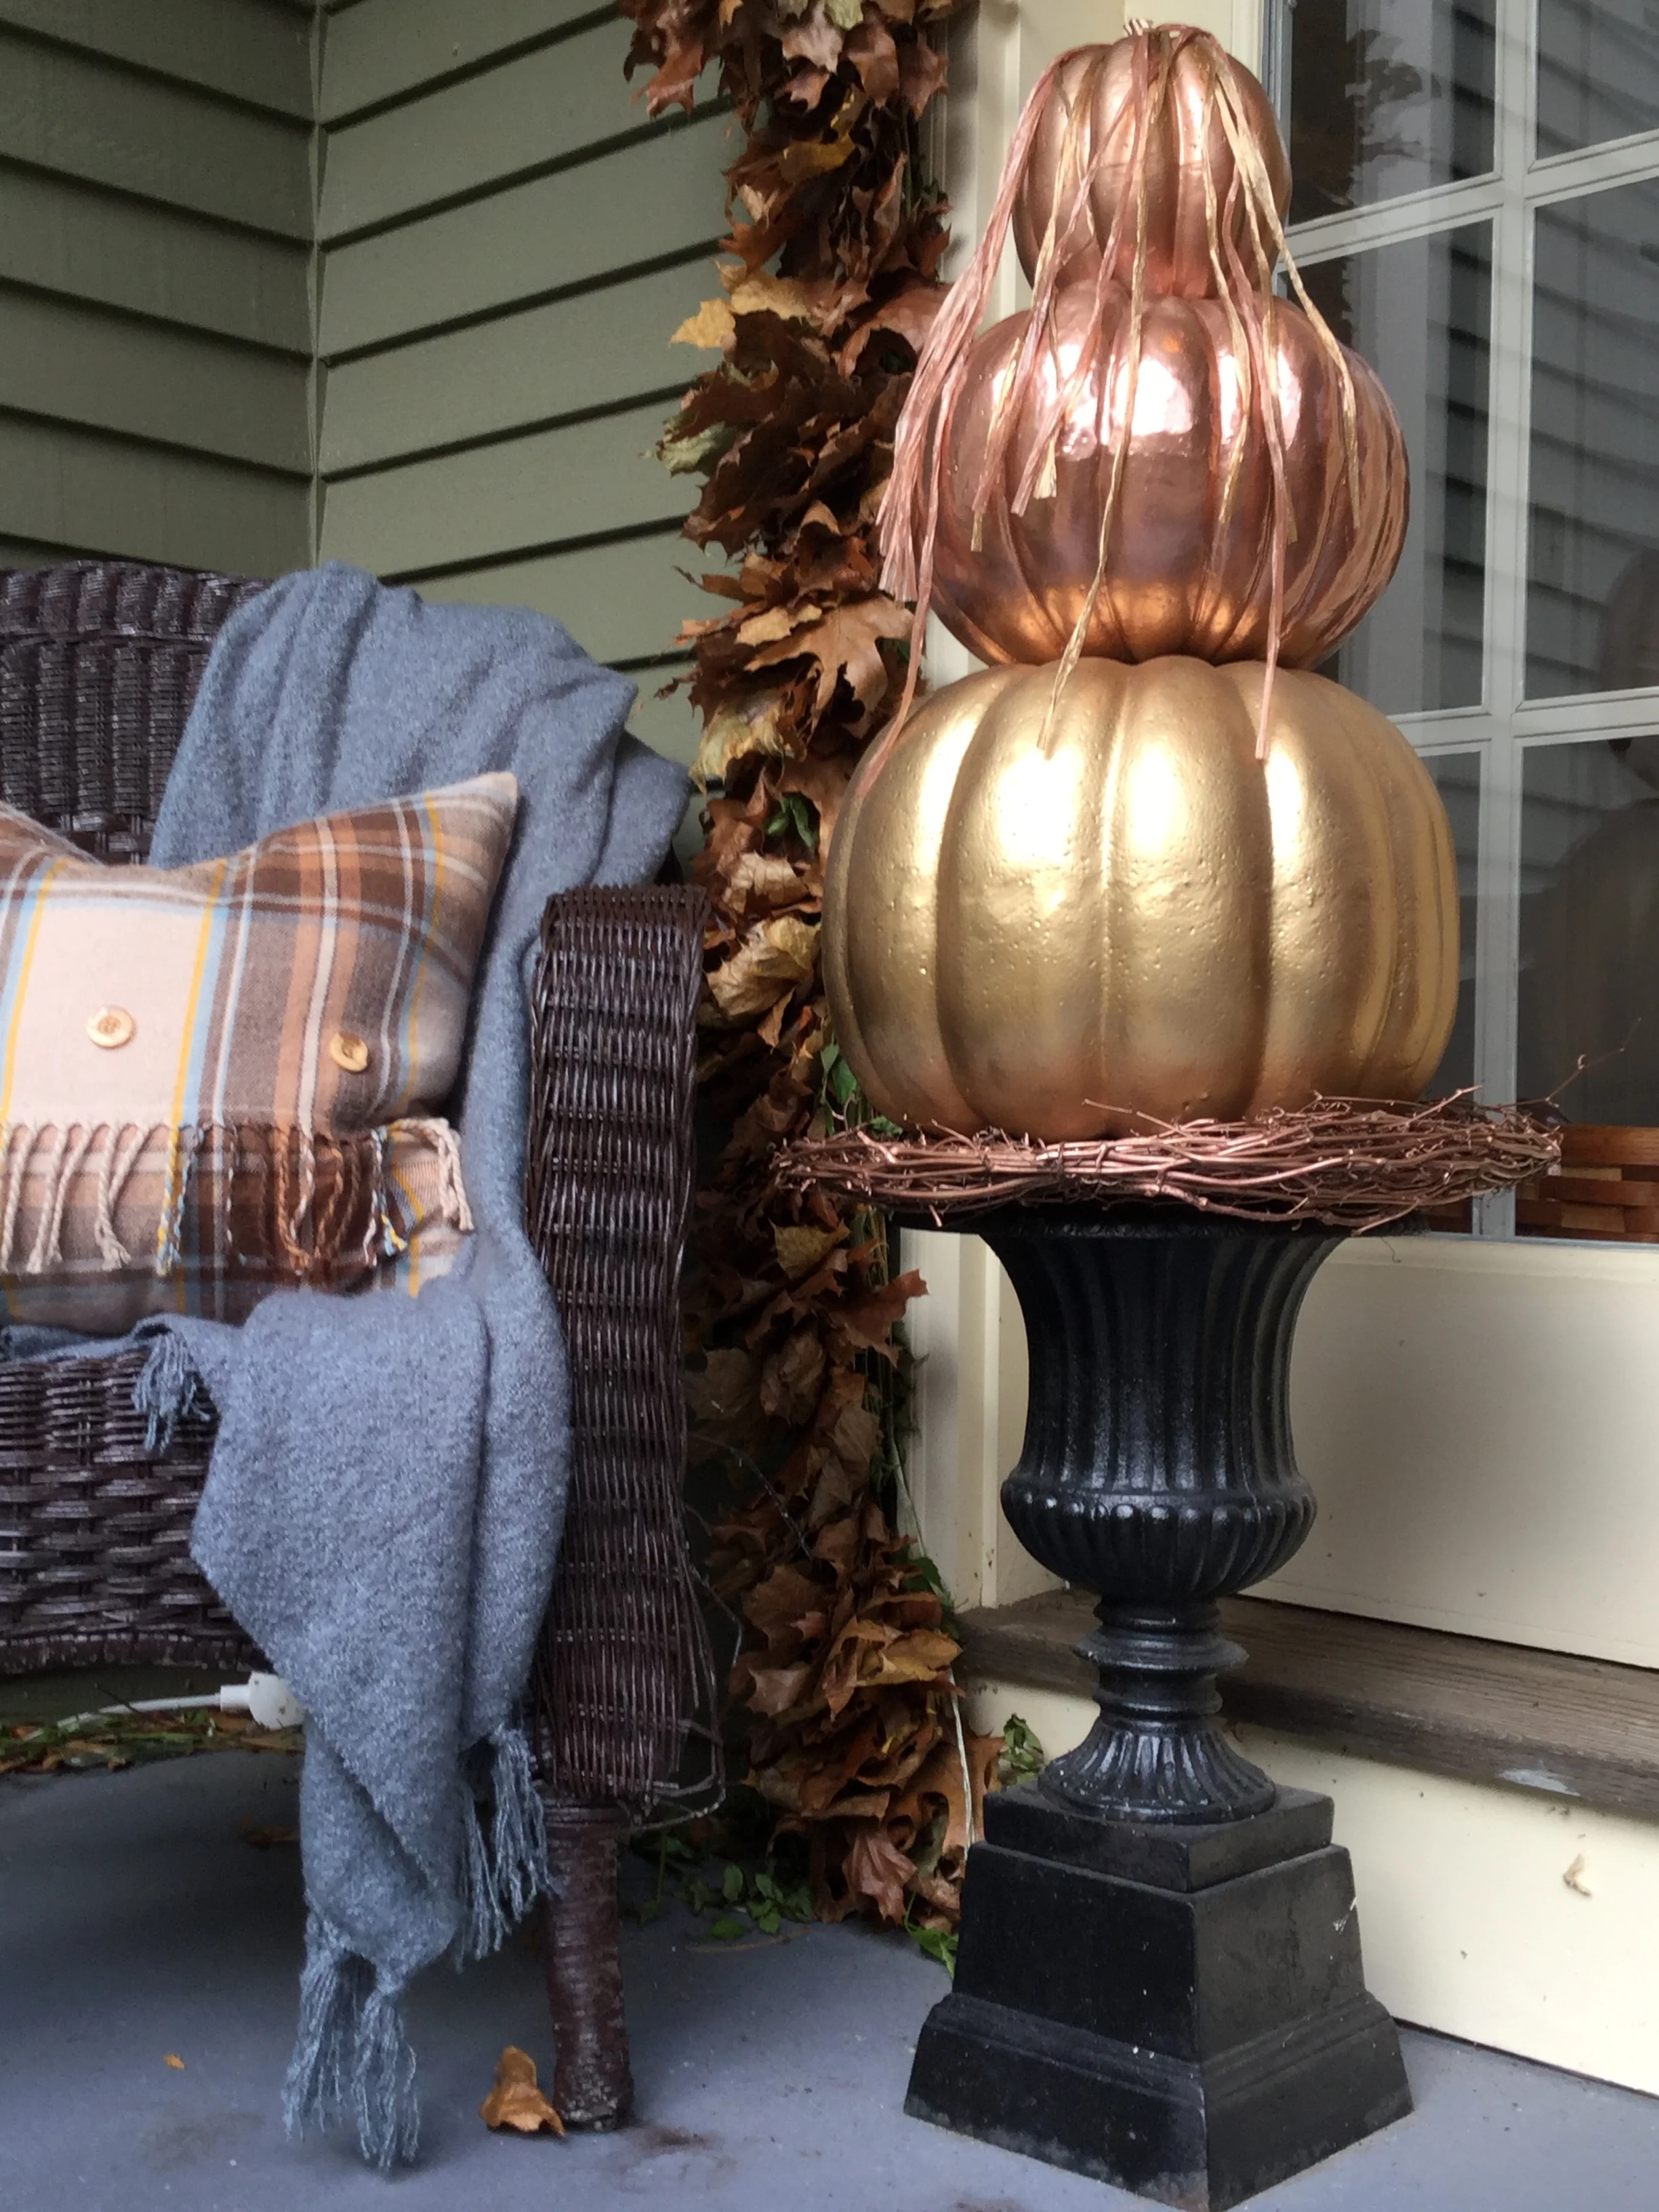
Creating the metallic pumpkin topiaries
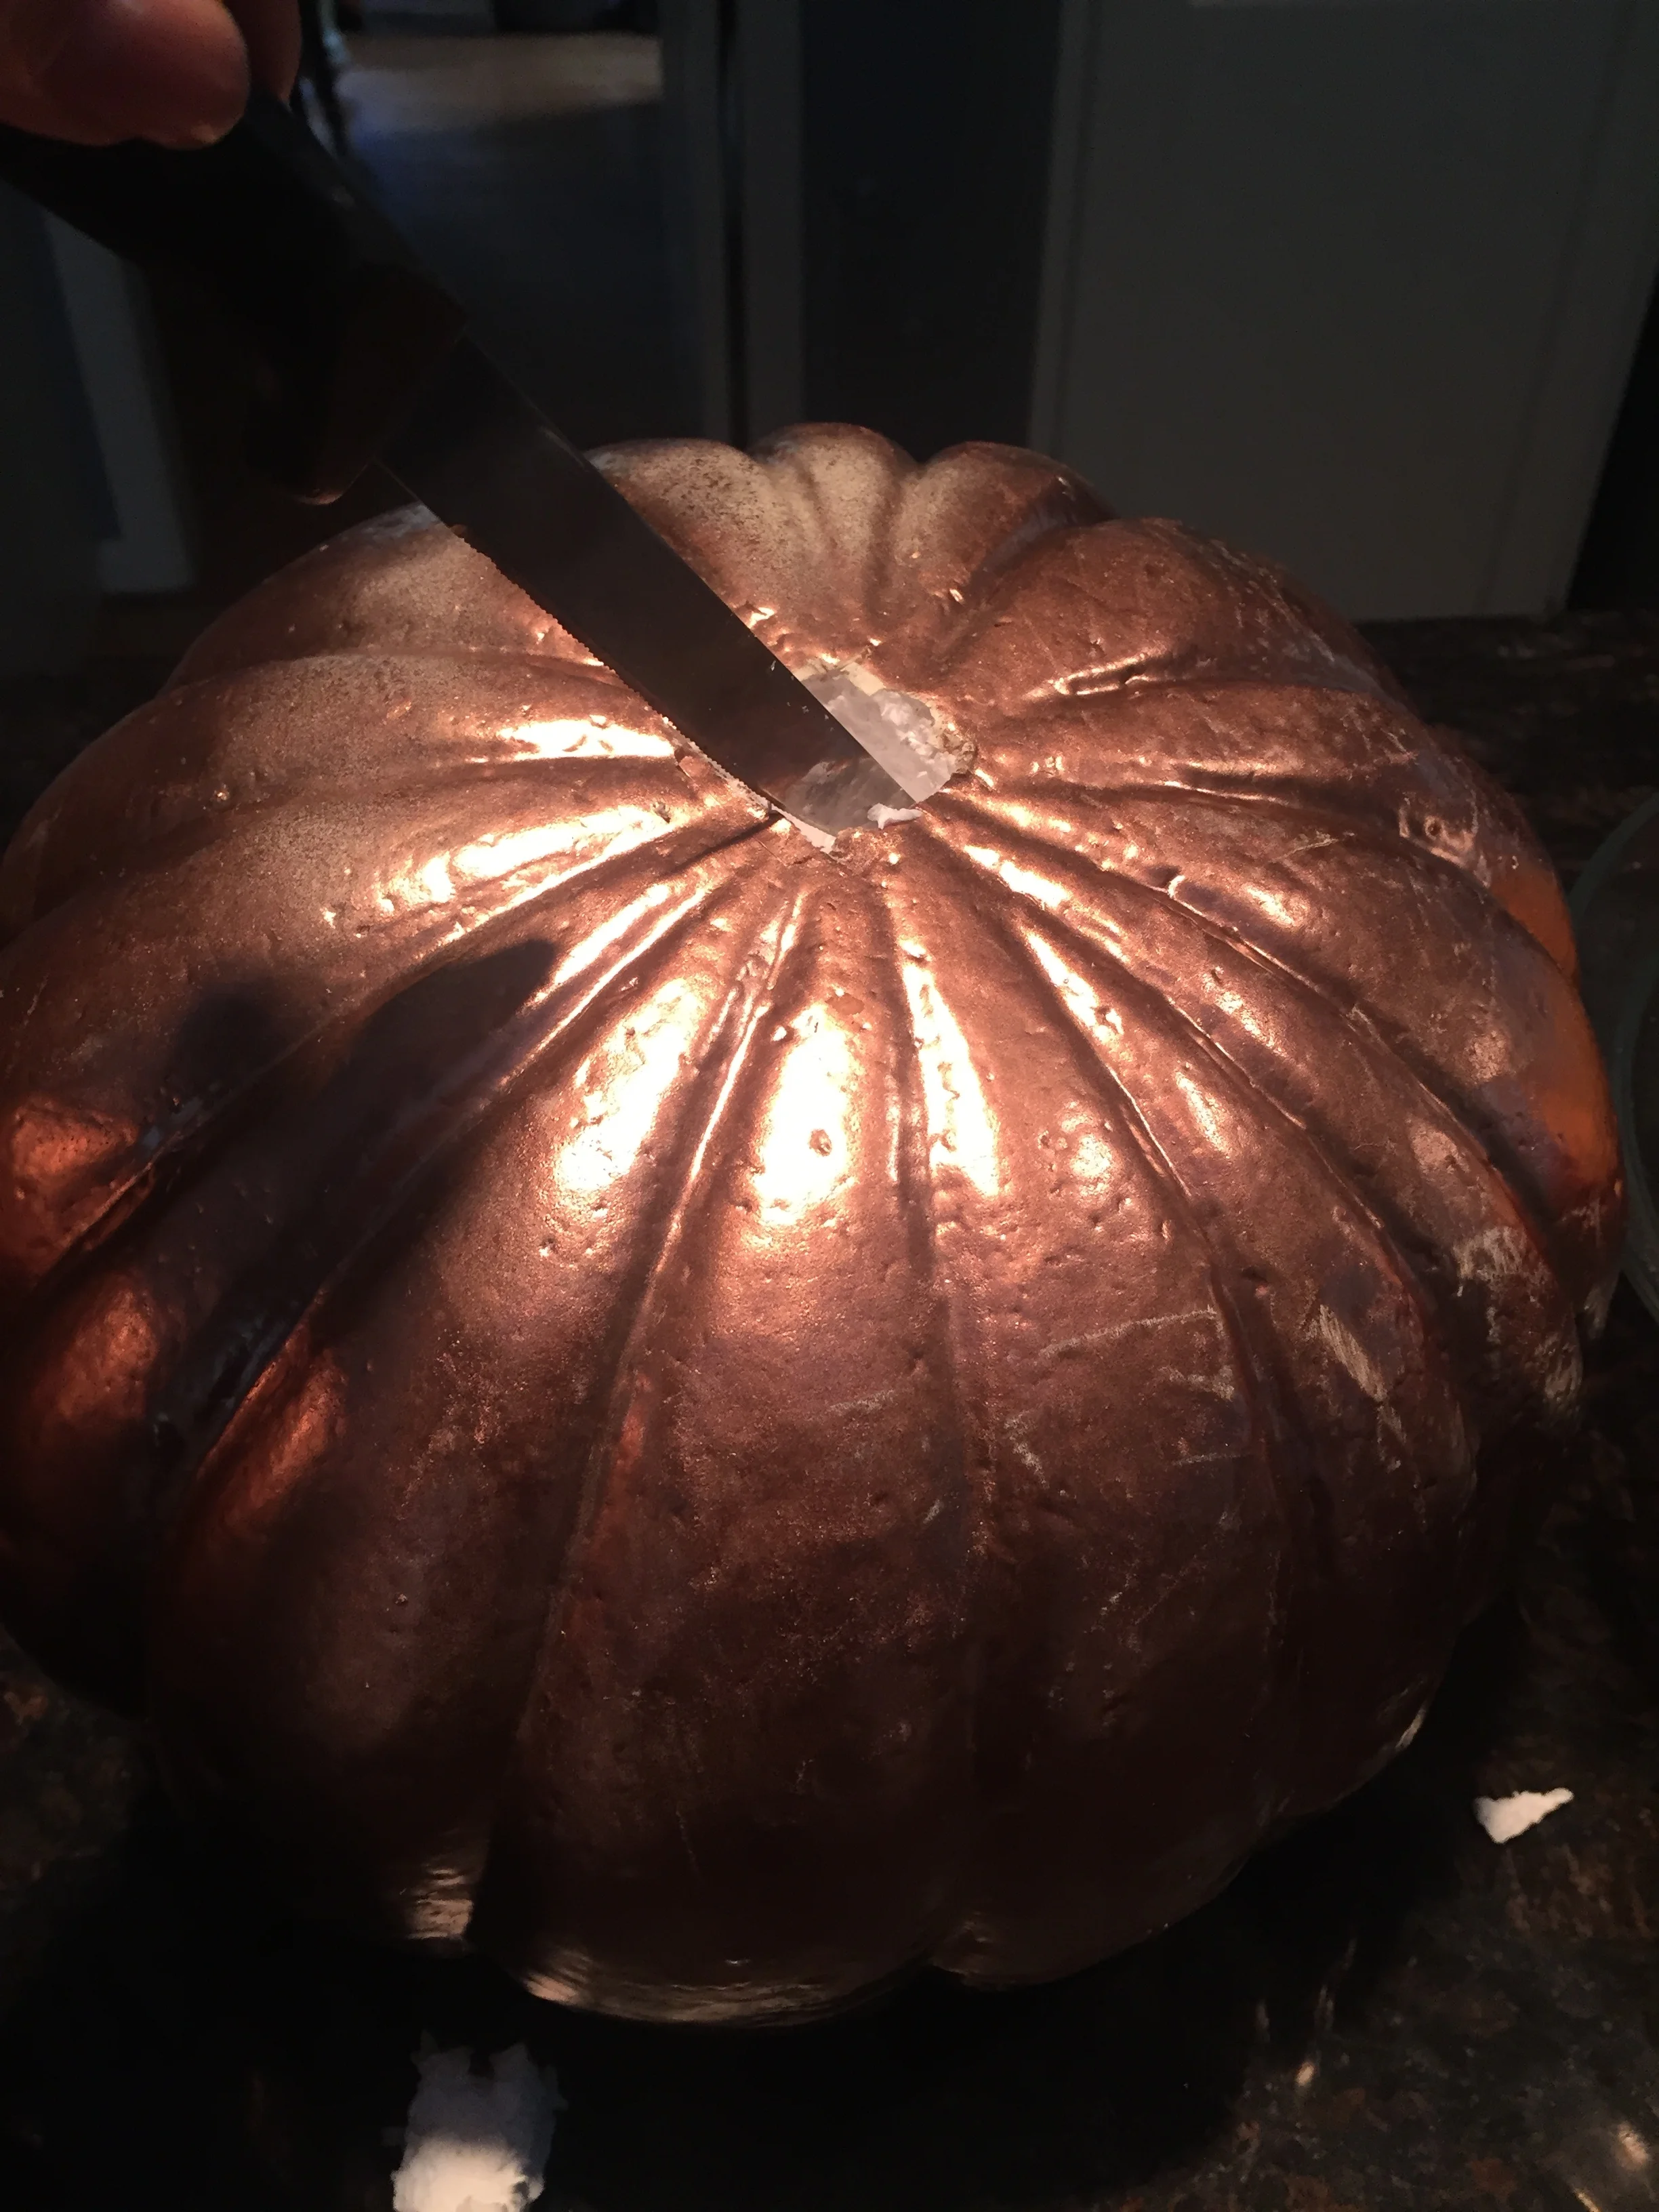
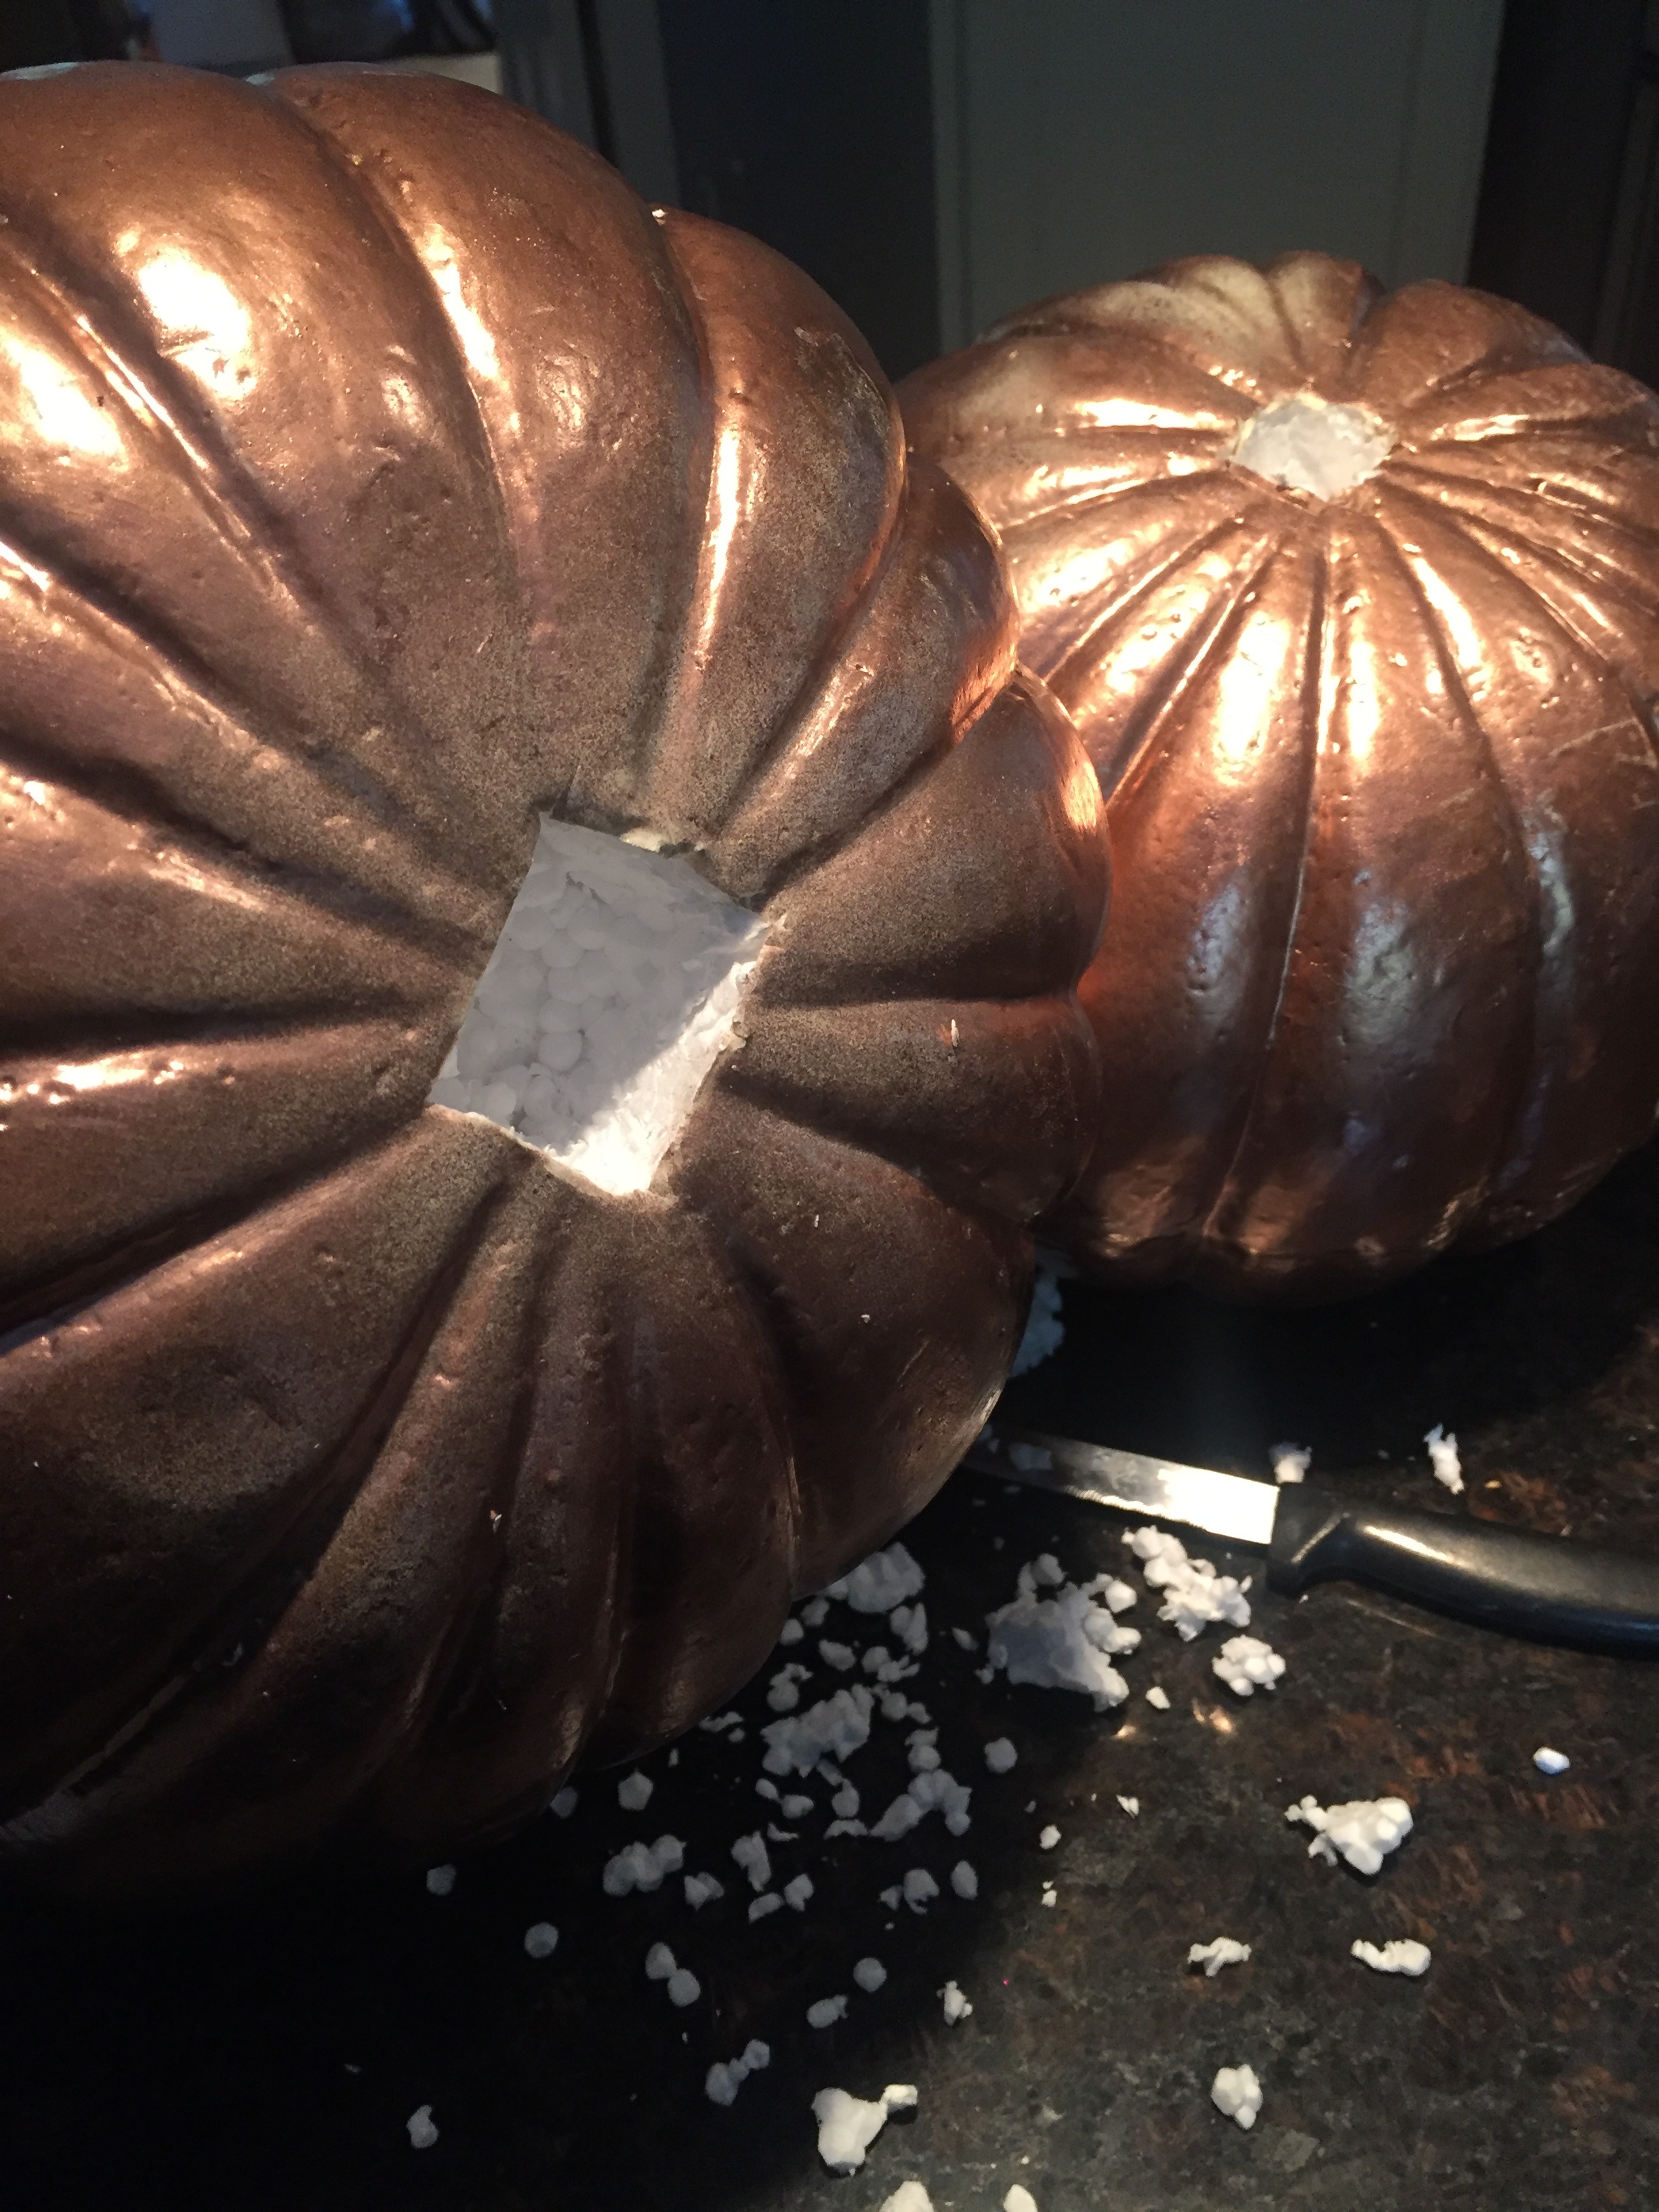
After painting these foam pumpkins with three different metallic shades, I cut out section from the bottom that would slide over the stem of the pumpkin below it. I chose to do it this way so that I could easily take the pumpkin topiary apart and store it away for future use.
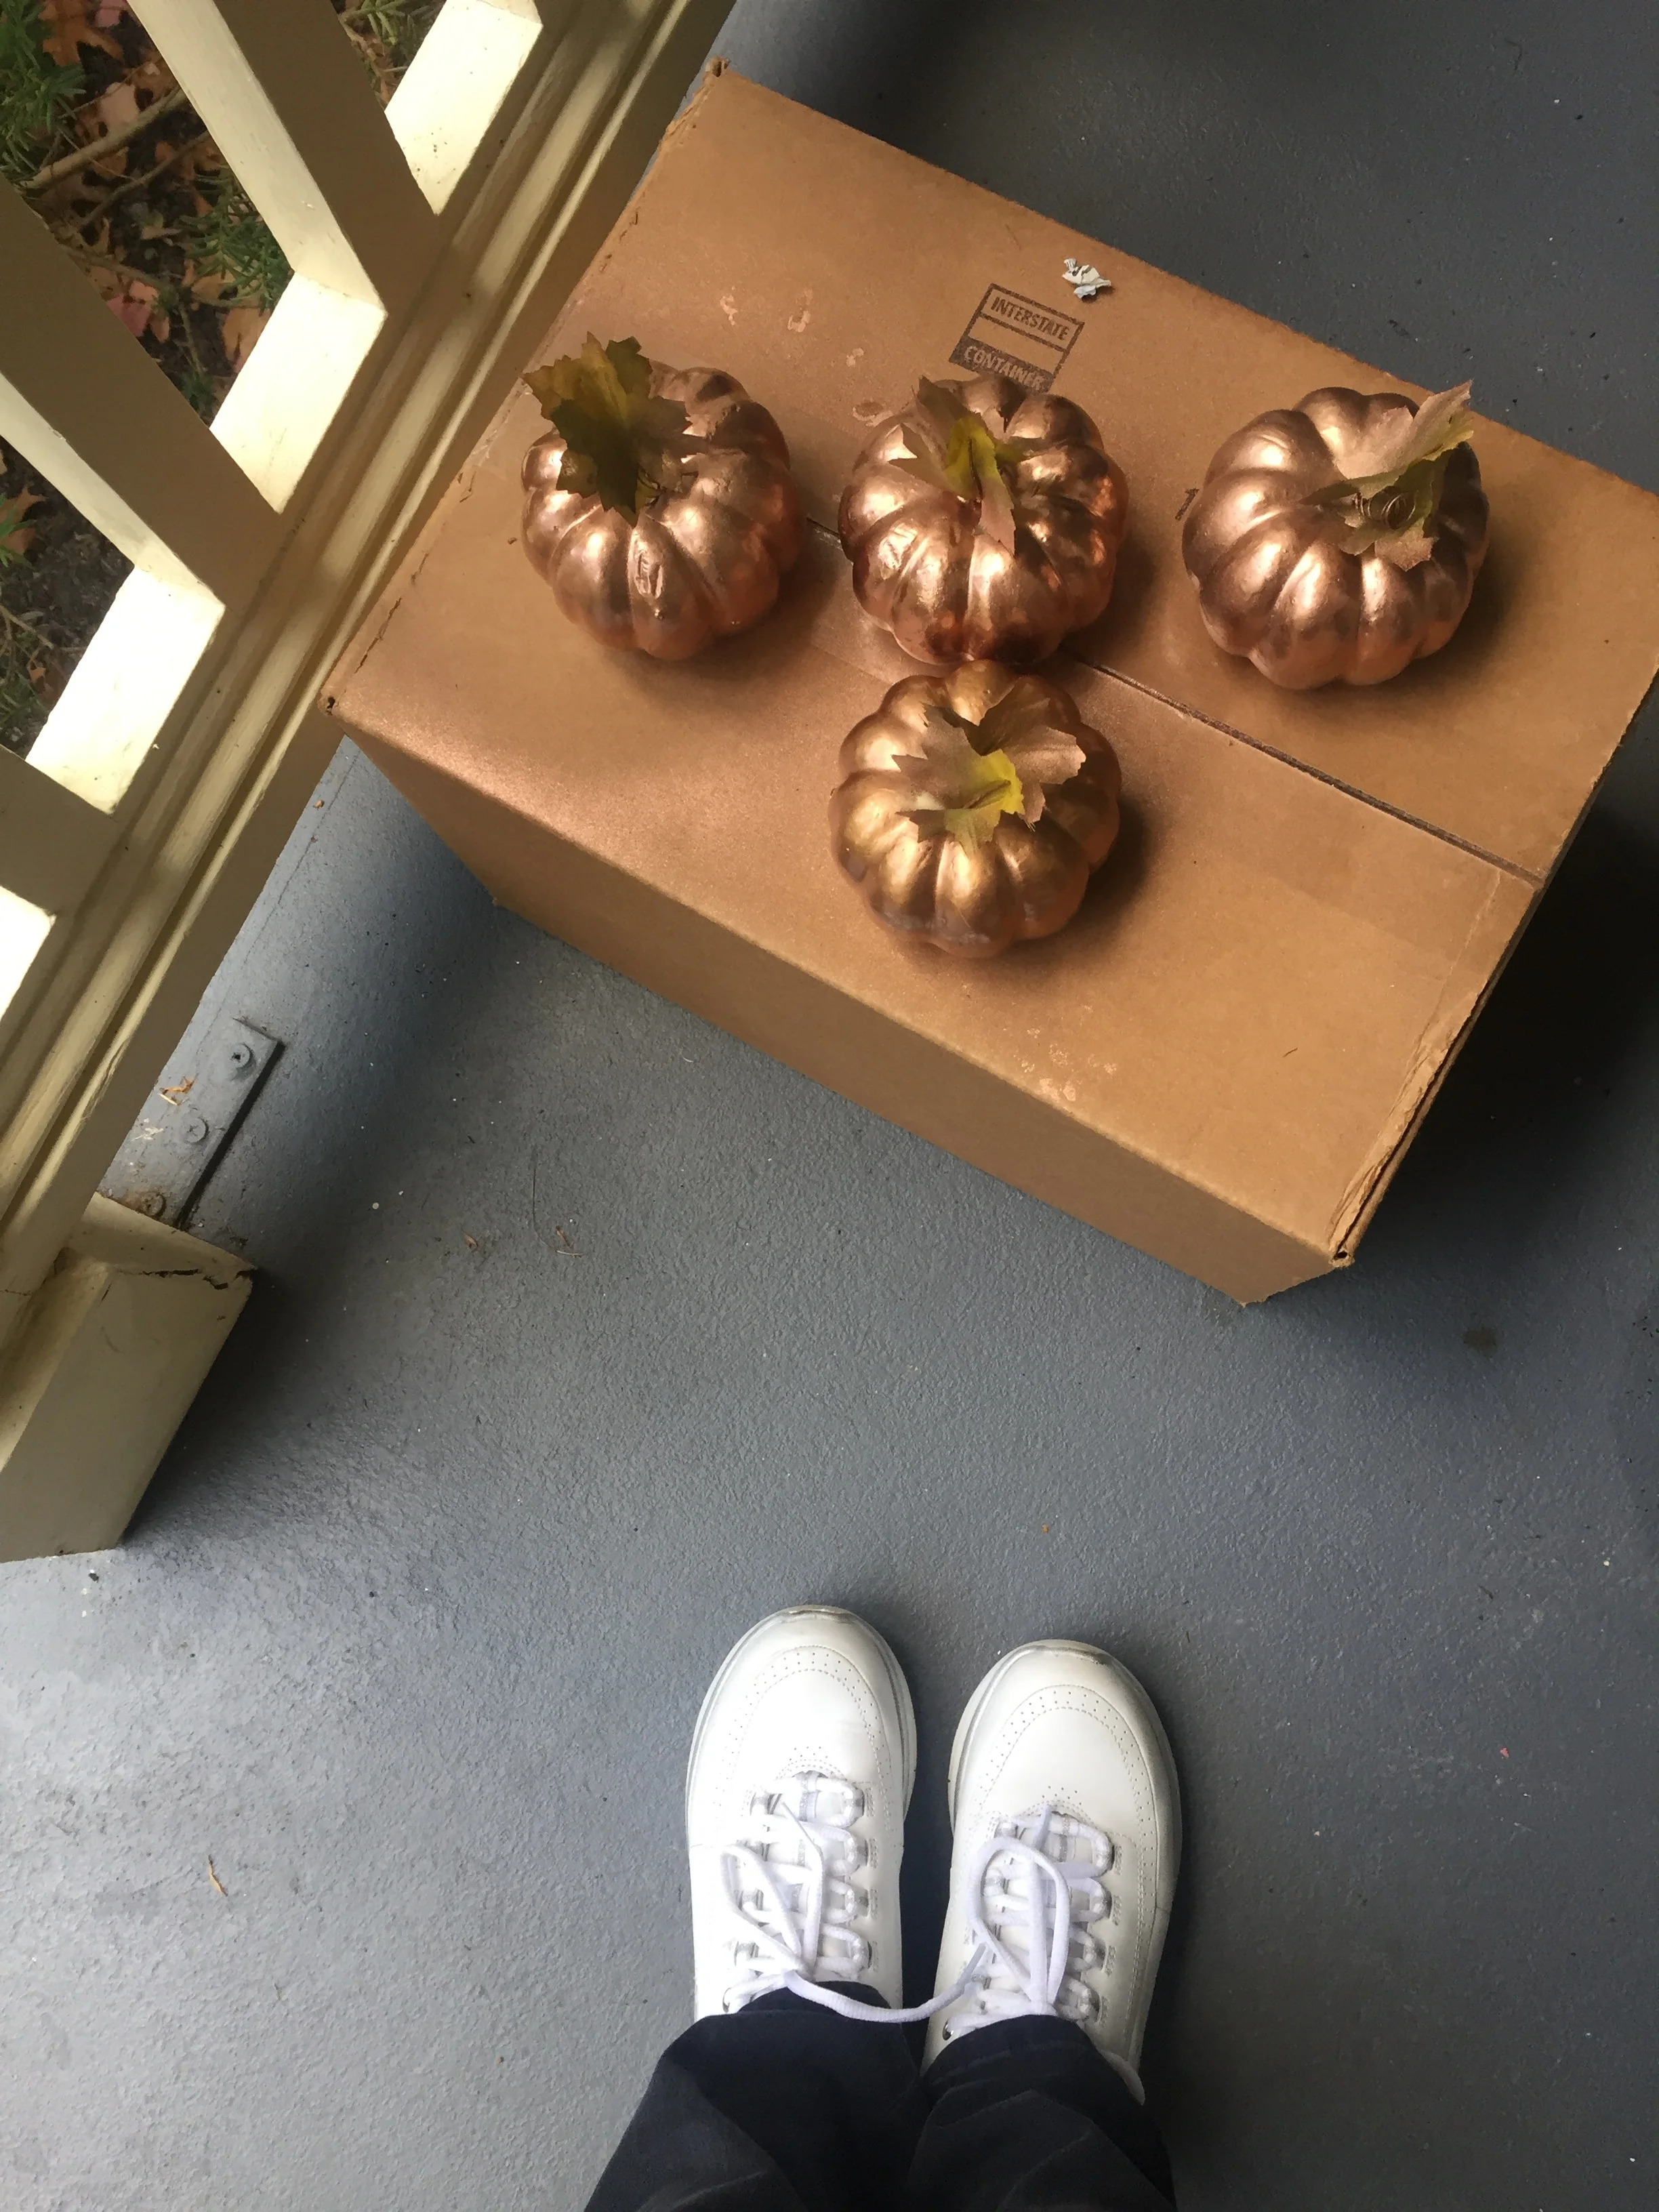
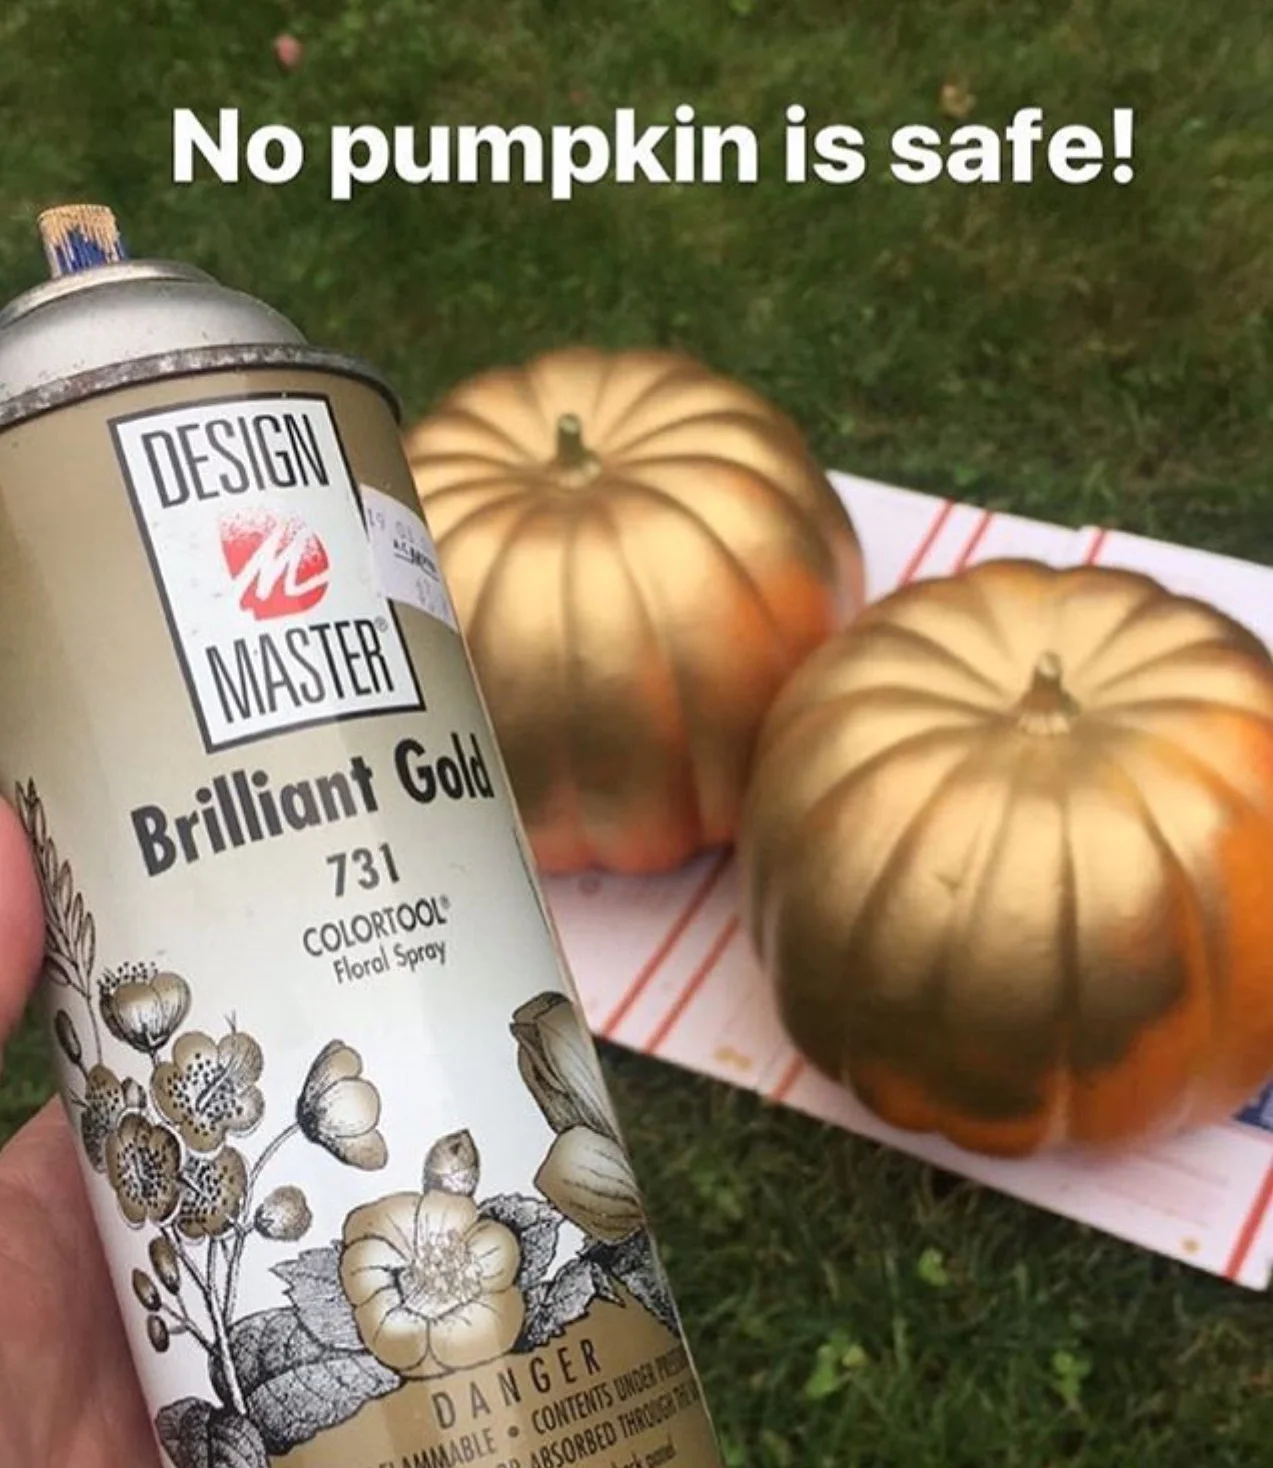
Mini pumpkins were sprayed for a wreath and table decor.
While I was making one of my garland sections, I realized how many more things I could make. I had a leaf wreath for many years that was preserved with glycerine, but I tossed it last year (yes, I am kicking myself for doing so now).
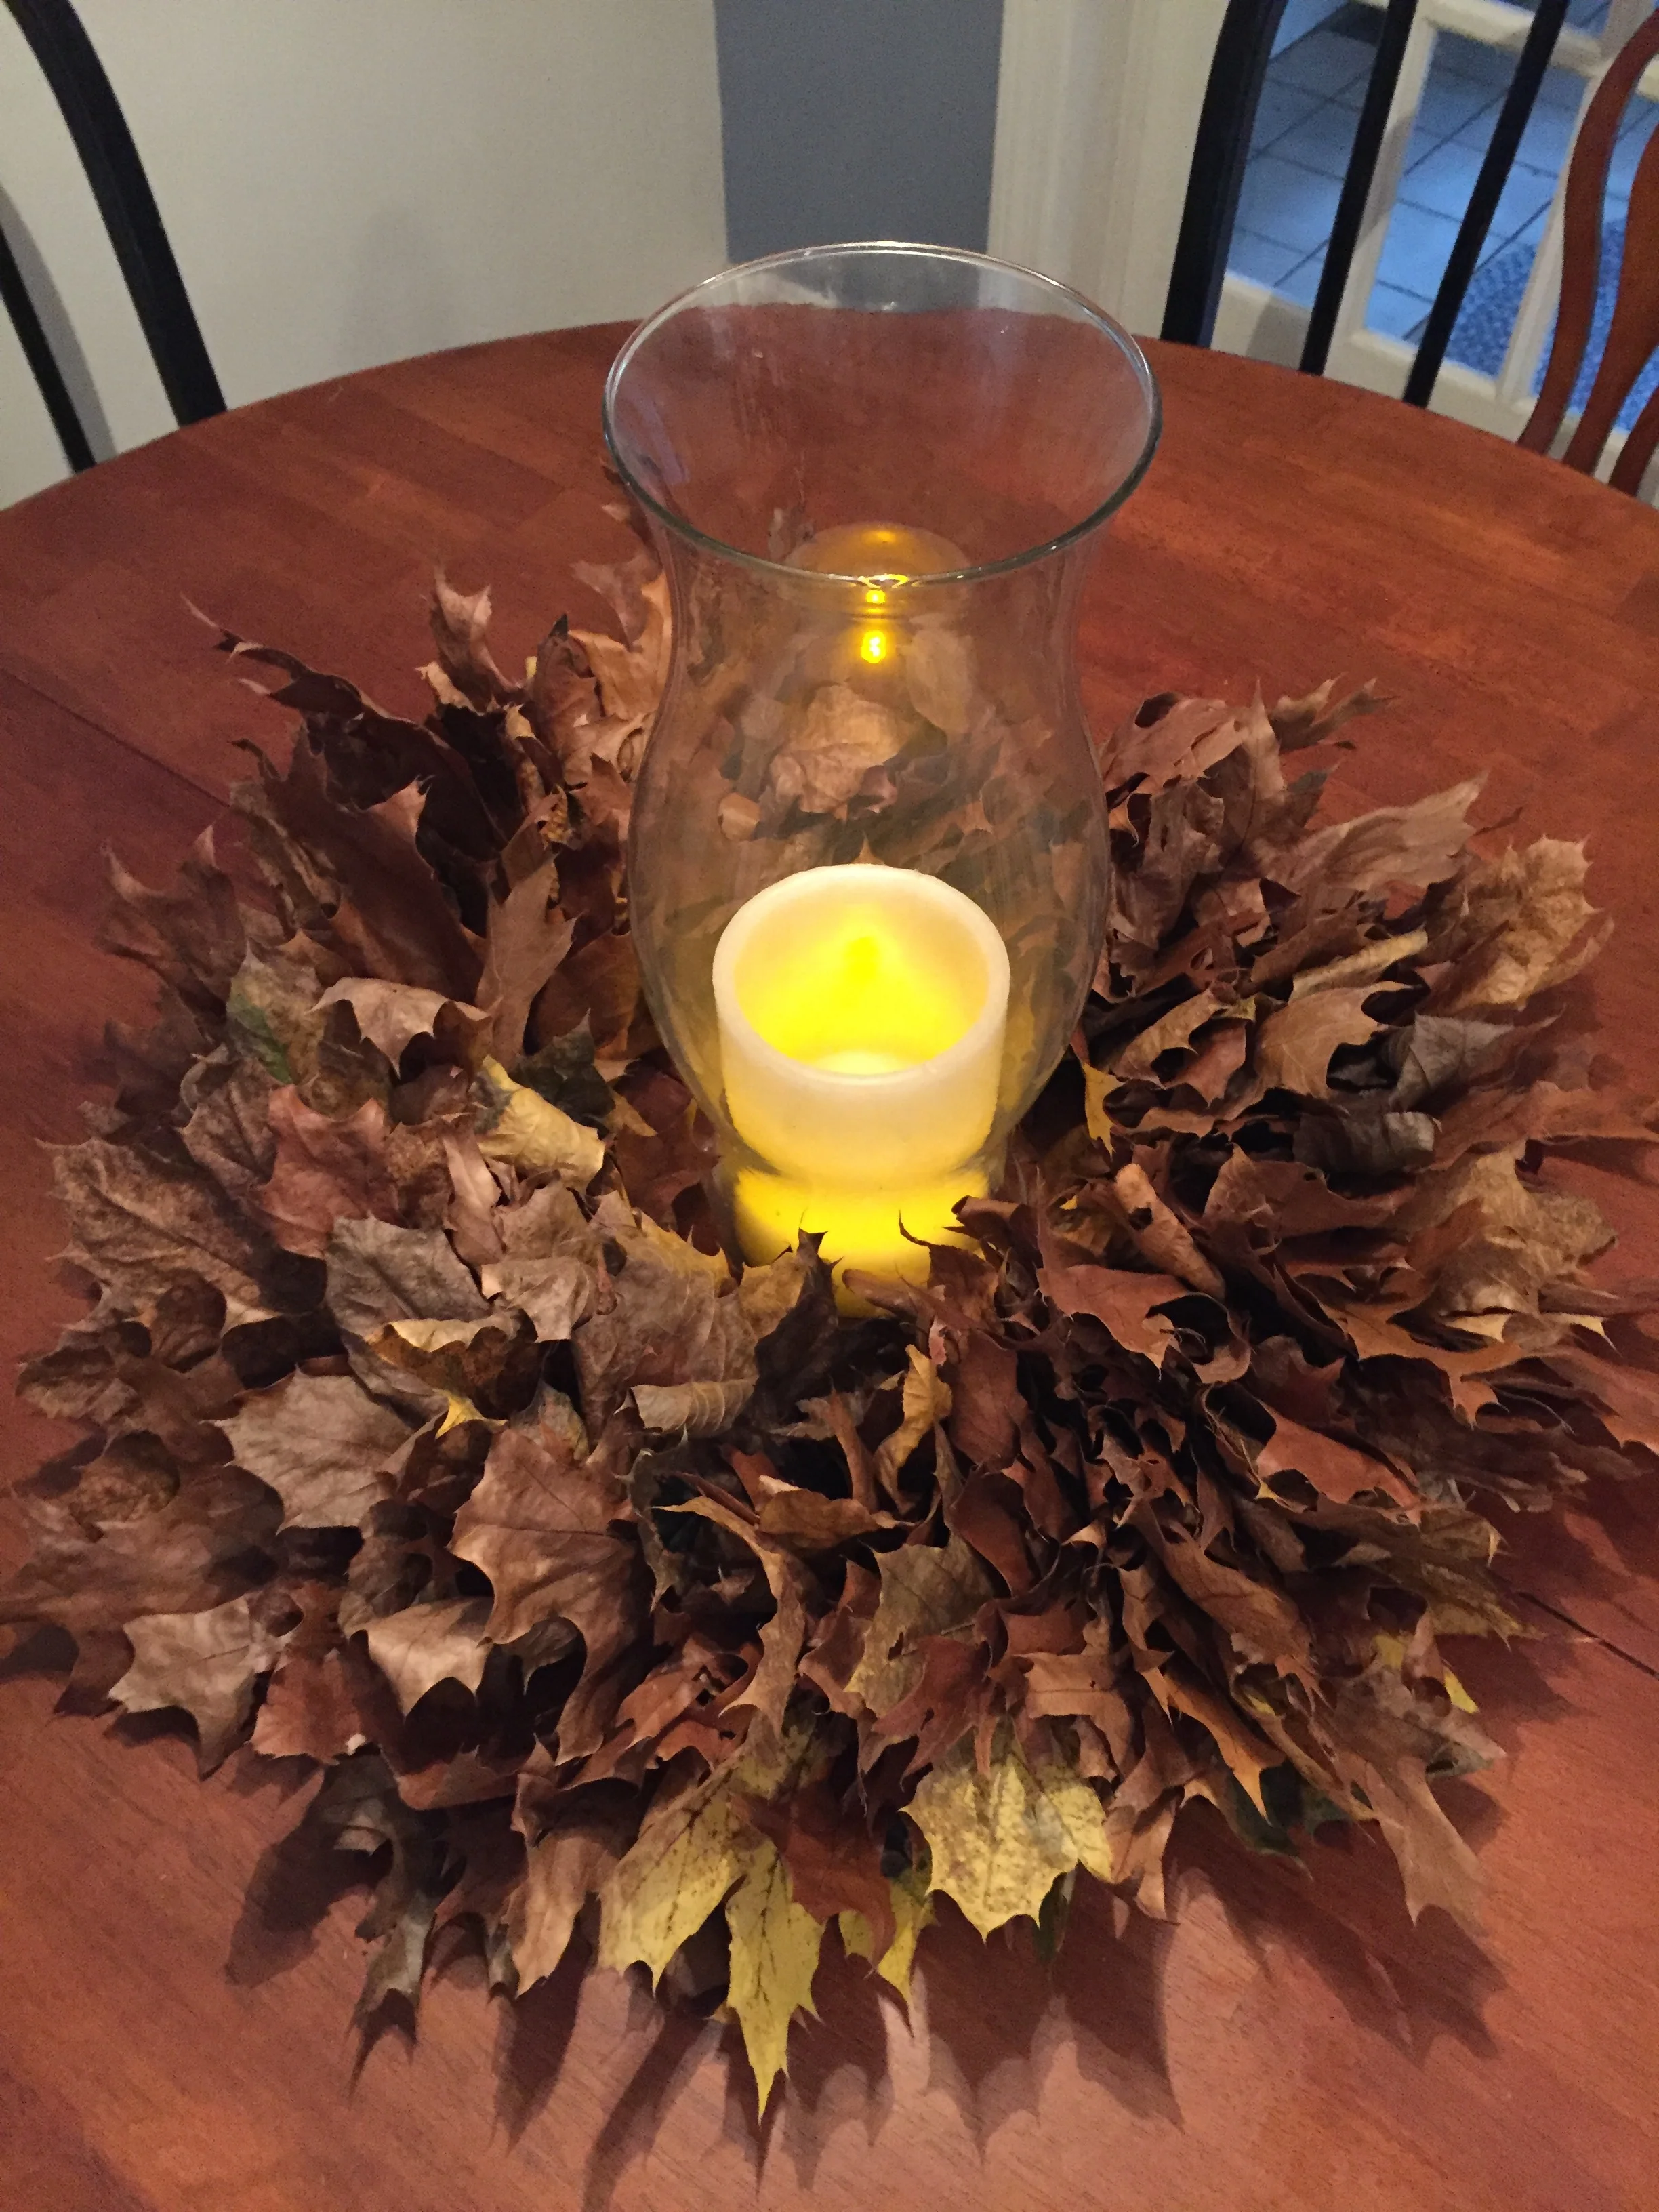
A battery operated candle was used, even with a glass hurricane around the wreath. The dried leaves are highly flammable.

Foam will deteriorate a bit with spray paint, so keep your eye out for Funkins which have a finish on the exterior that takes spray paint a bit better. You can find these in all types of craft stores.