Building Raised Garden Beds for Herbs and Vegetables
If you've been waiting to build a raised garden bed or two, it's not too soon to do so. In fact this is the perfect time.
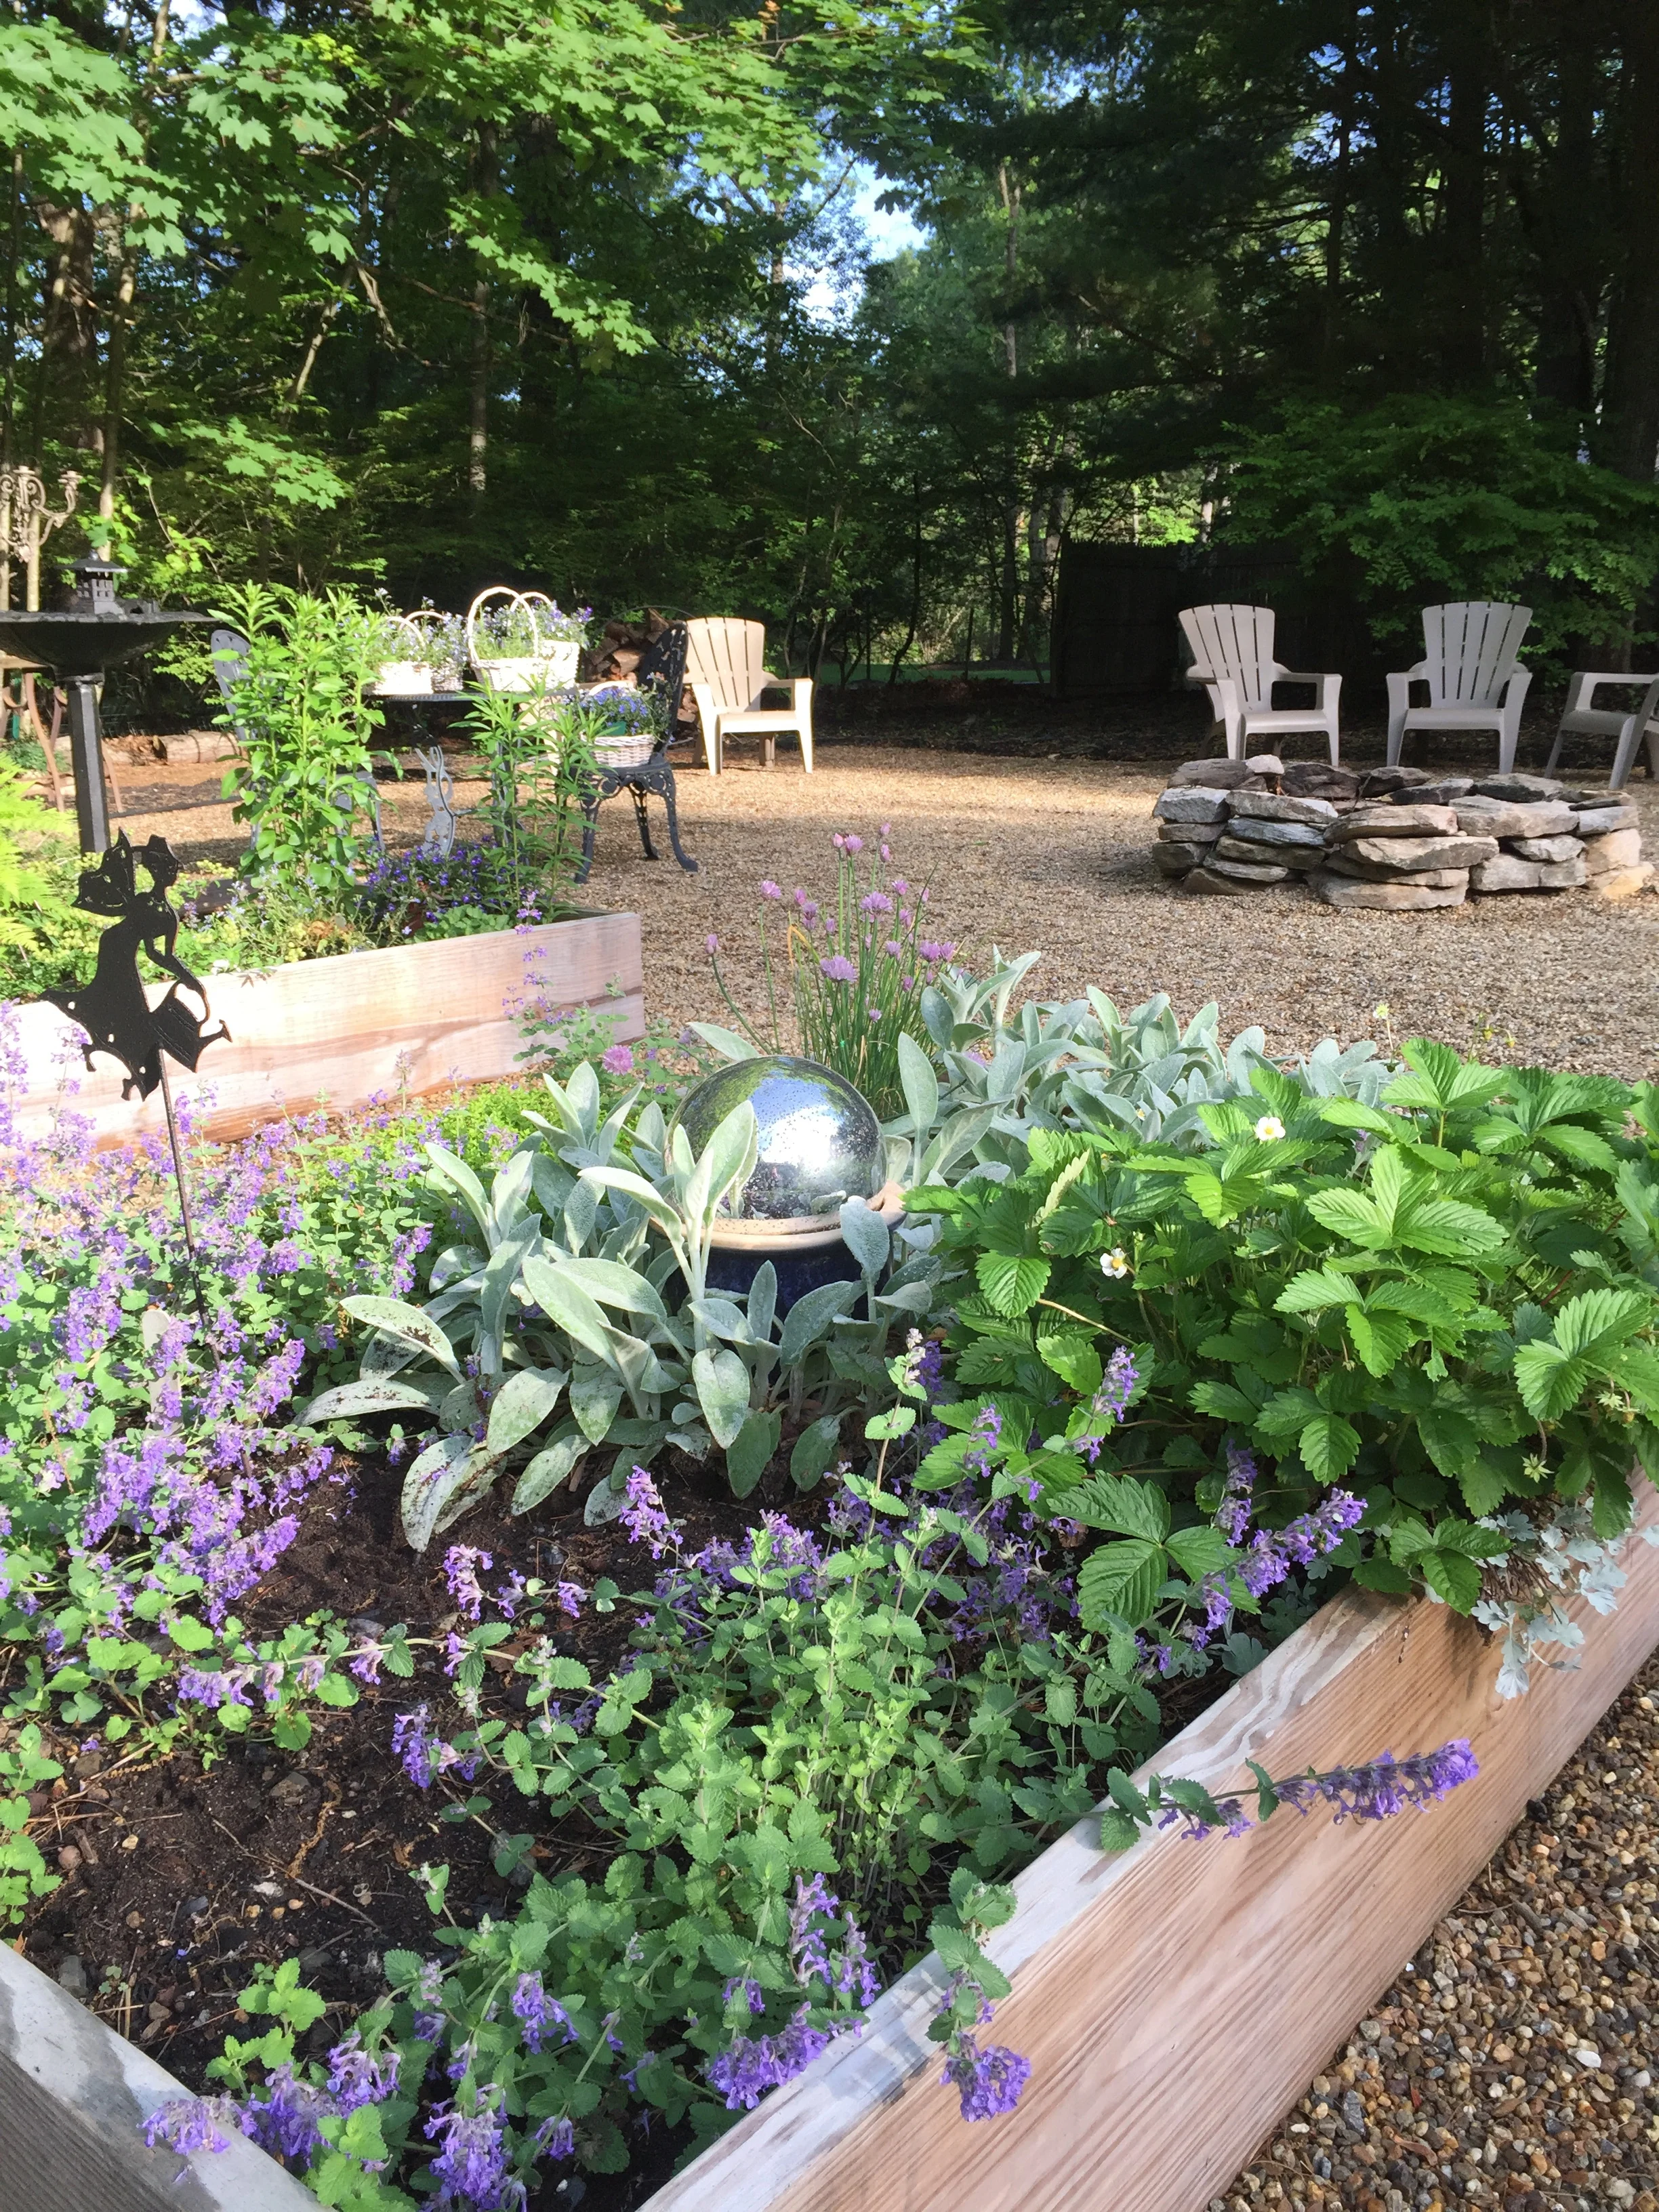
Over the past couple of years I have built several garden beds; two were placed on top of pea stone that was originally a swing set area from the previous home owners and I built two for more for our wedding. Can you believe I built those just for our home "Garden Themed" wedding with hopes things would grow in time just for the visual? Yup. That might be a bit over the top to create a garden, just for a wedding, but that's how I roll! I loved the idea until I filled the umpteenth wheelbarrow with rich soil from our compost pile. I got a good workout though and it was well worth it since my family enjoyed fresh vegetables and herbs all summer and fall that year and the following year. This year it lays dormant for the new home owner if they choose to use it.
All I did to create these:
I first measured out the size of box I wanted, including the height. I then headed to my local lumber yard and had wood cut to size so that I did not have to pull my chop saw out of the basement. Along with the wood purchase I grabbed four full-lengh corner brackets for each box (grab eight if you do not find full length bracket like I did. since you will want a bracket at least the top and bottom in each corner) and wood screws. The brackets show in the bottom photo for those not sure what I mean by full-length. Brackets can usually be found in the area of deck building supplies.
Since I chose not to use pressure treated wood, I used screws knowing that I or the next home owner wold be able to take apart the boxes with ease when they needed to be replaced or no longer wanted. NOTE: If you don't already know this from experience, taking anything apart that has nails vs screws is so much harder.

The new home we are moving to has six raised garden beds and I am already looking forward to planting vegetables and herbs that I cook with, but since I won't be able to get my hands dirty until mid June or later, I am going to shop for what is left at local farm stands vs starting from seed.
Speaking of seeds, to be totally transparent, I used to love starting seeds indoors, and my daughter starts all of her gardens by seed, but over the years I have done it less and less due to lack of space or I did not want to give up space to trays that I would rather use for pretty things. :-).
That said, I will be trying my hand at sweet peas, one last time, and I will be keeping my fingers crossed. It may be too late in the season by the time I get into our new home, but I want to try to see if I can at least get them to sprout! I just learned the seeds need to be soaked in water overnight to soften and plump them before planting. Thank you for sharing Martha Stewart! To think of how many years I have planted sweet pea seeds right out of the packet. Now I am excited to try again!
Happy Spring and Happy Gardening!