Saying goodbye to a carpet runner
One of the first projects I tackled in our new old home was to remove a red runner that was attached with hundreds... no more like thousands of razor like staples and tacks. I have done this many times before, but this carpet removal project was a bit more daunting than expected, especially with just two small window air conditioners cracking away on 90 plus degree hot summer days. Needless to say, I was determined to complete this project in two phases as quick as possible.
Some of you might be wondering why I pulled up the carpet. This particular wool carpet was in great shape and of good quality, but the color and pattern were not part of our personal design plan. Correction - I said "our", but I really mean "my" design plan since my Mr. liked it underfoot and he was impartial to the color or pattern.
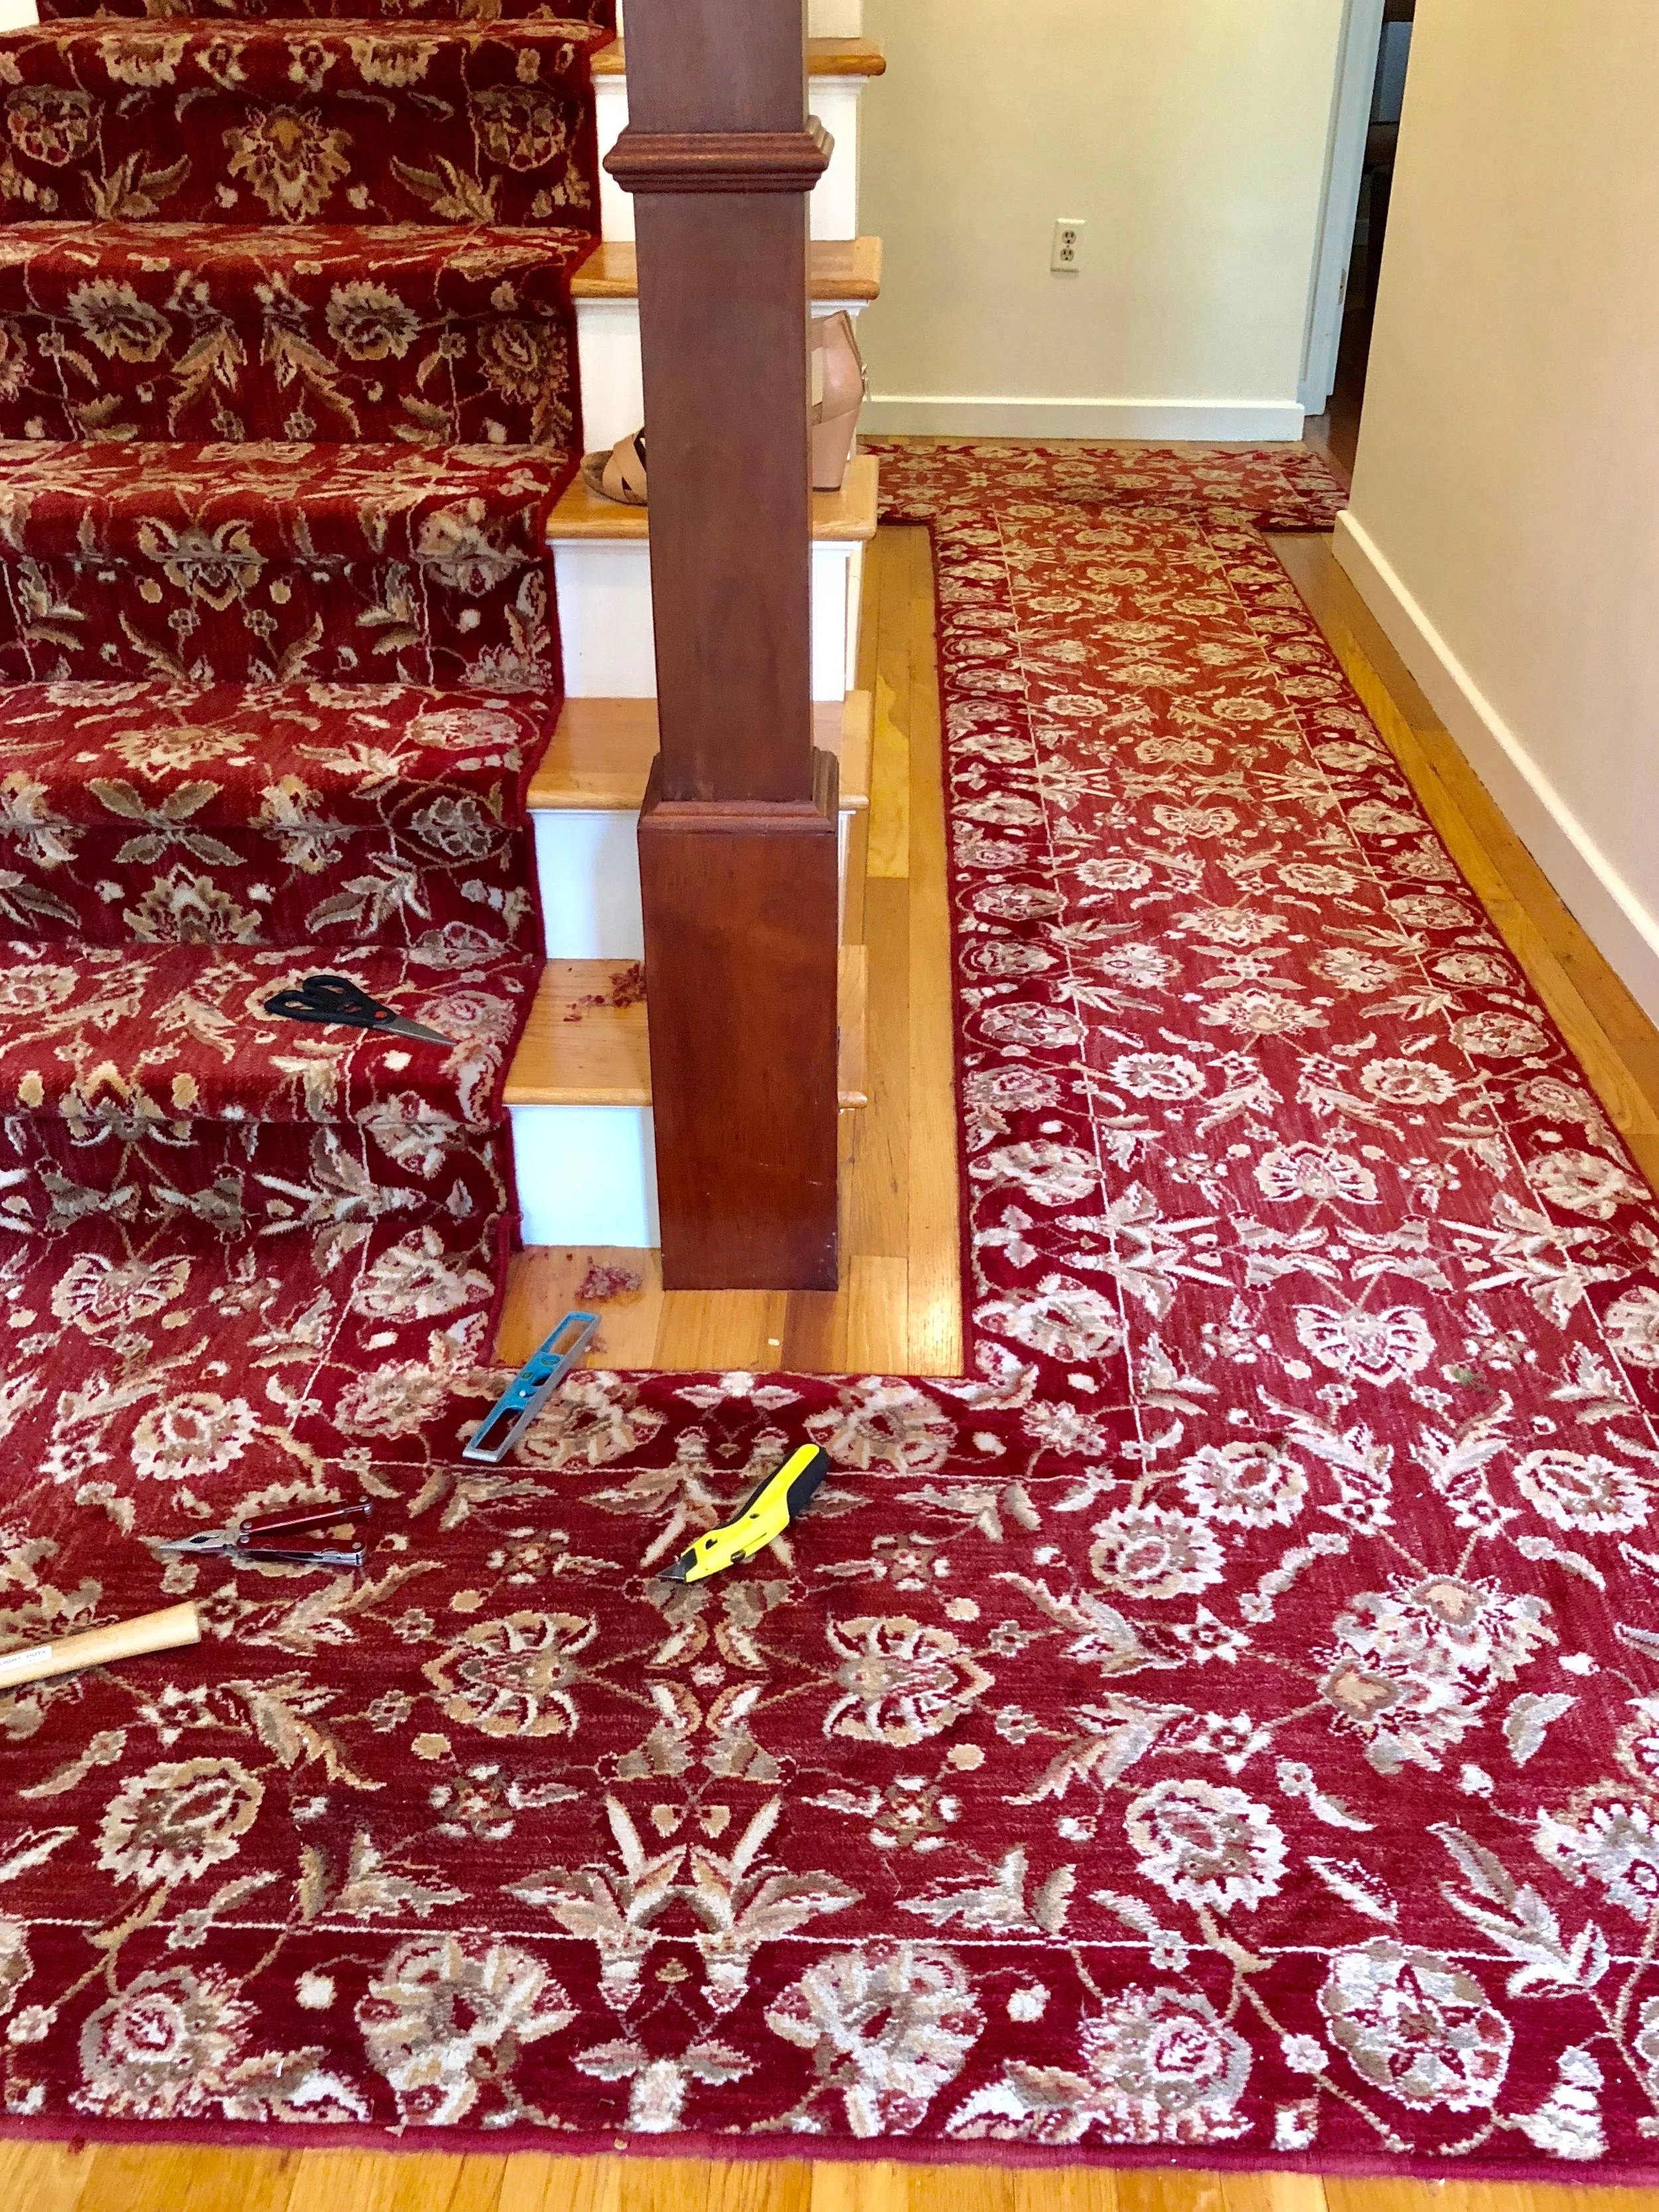
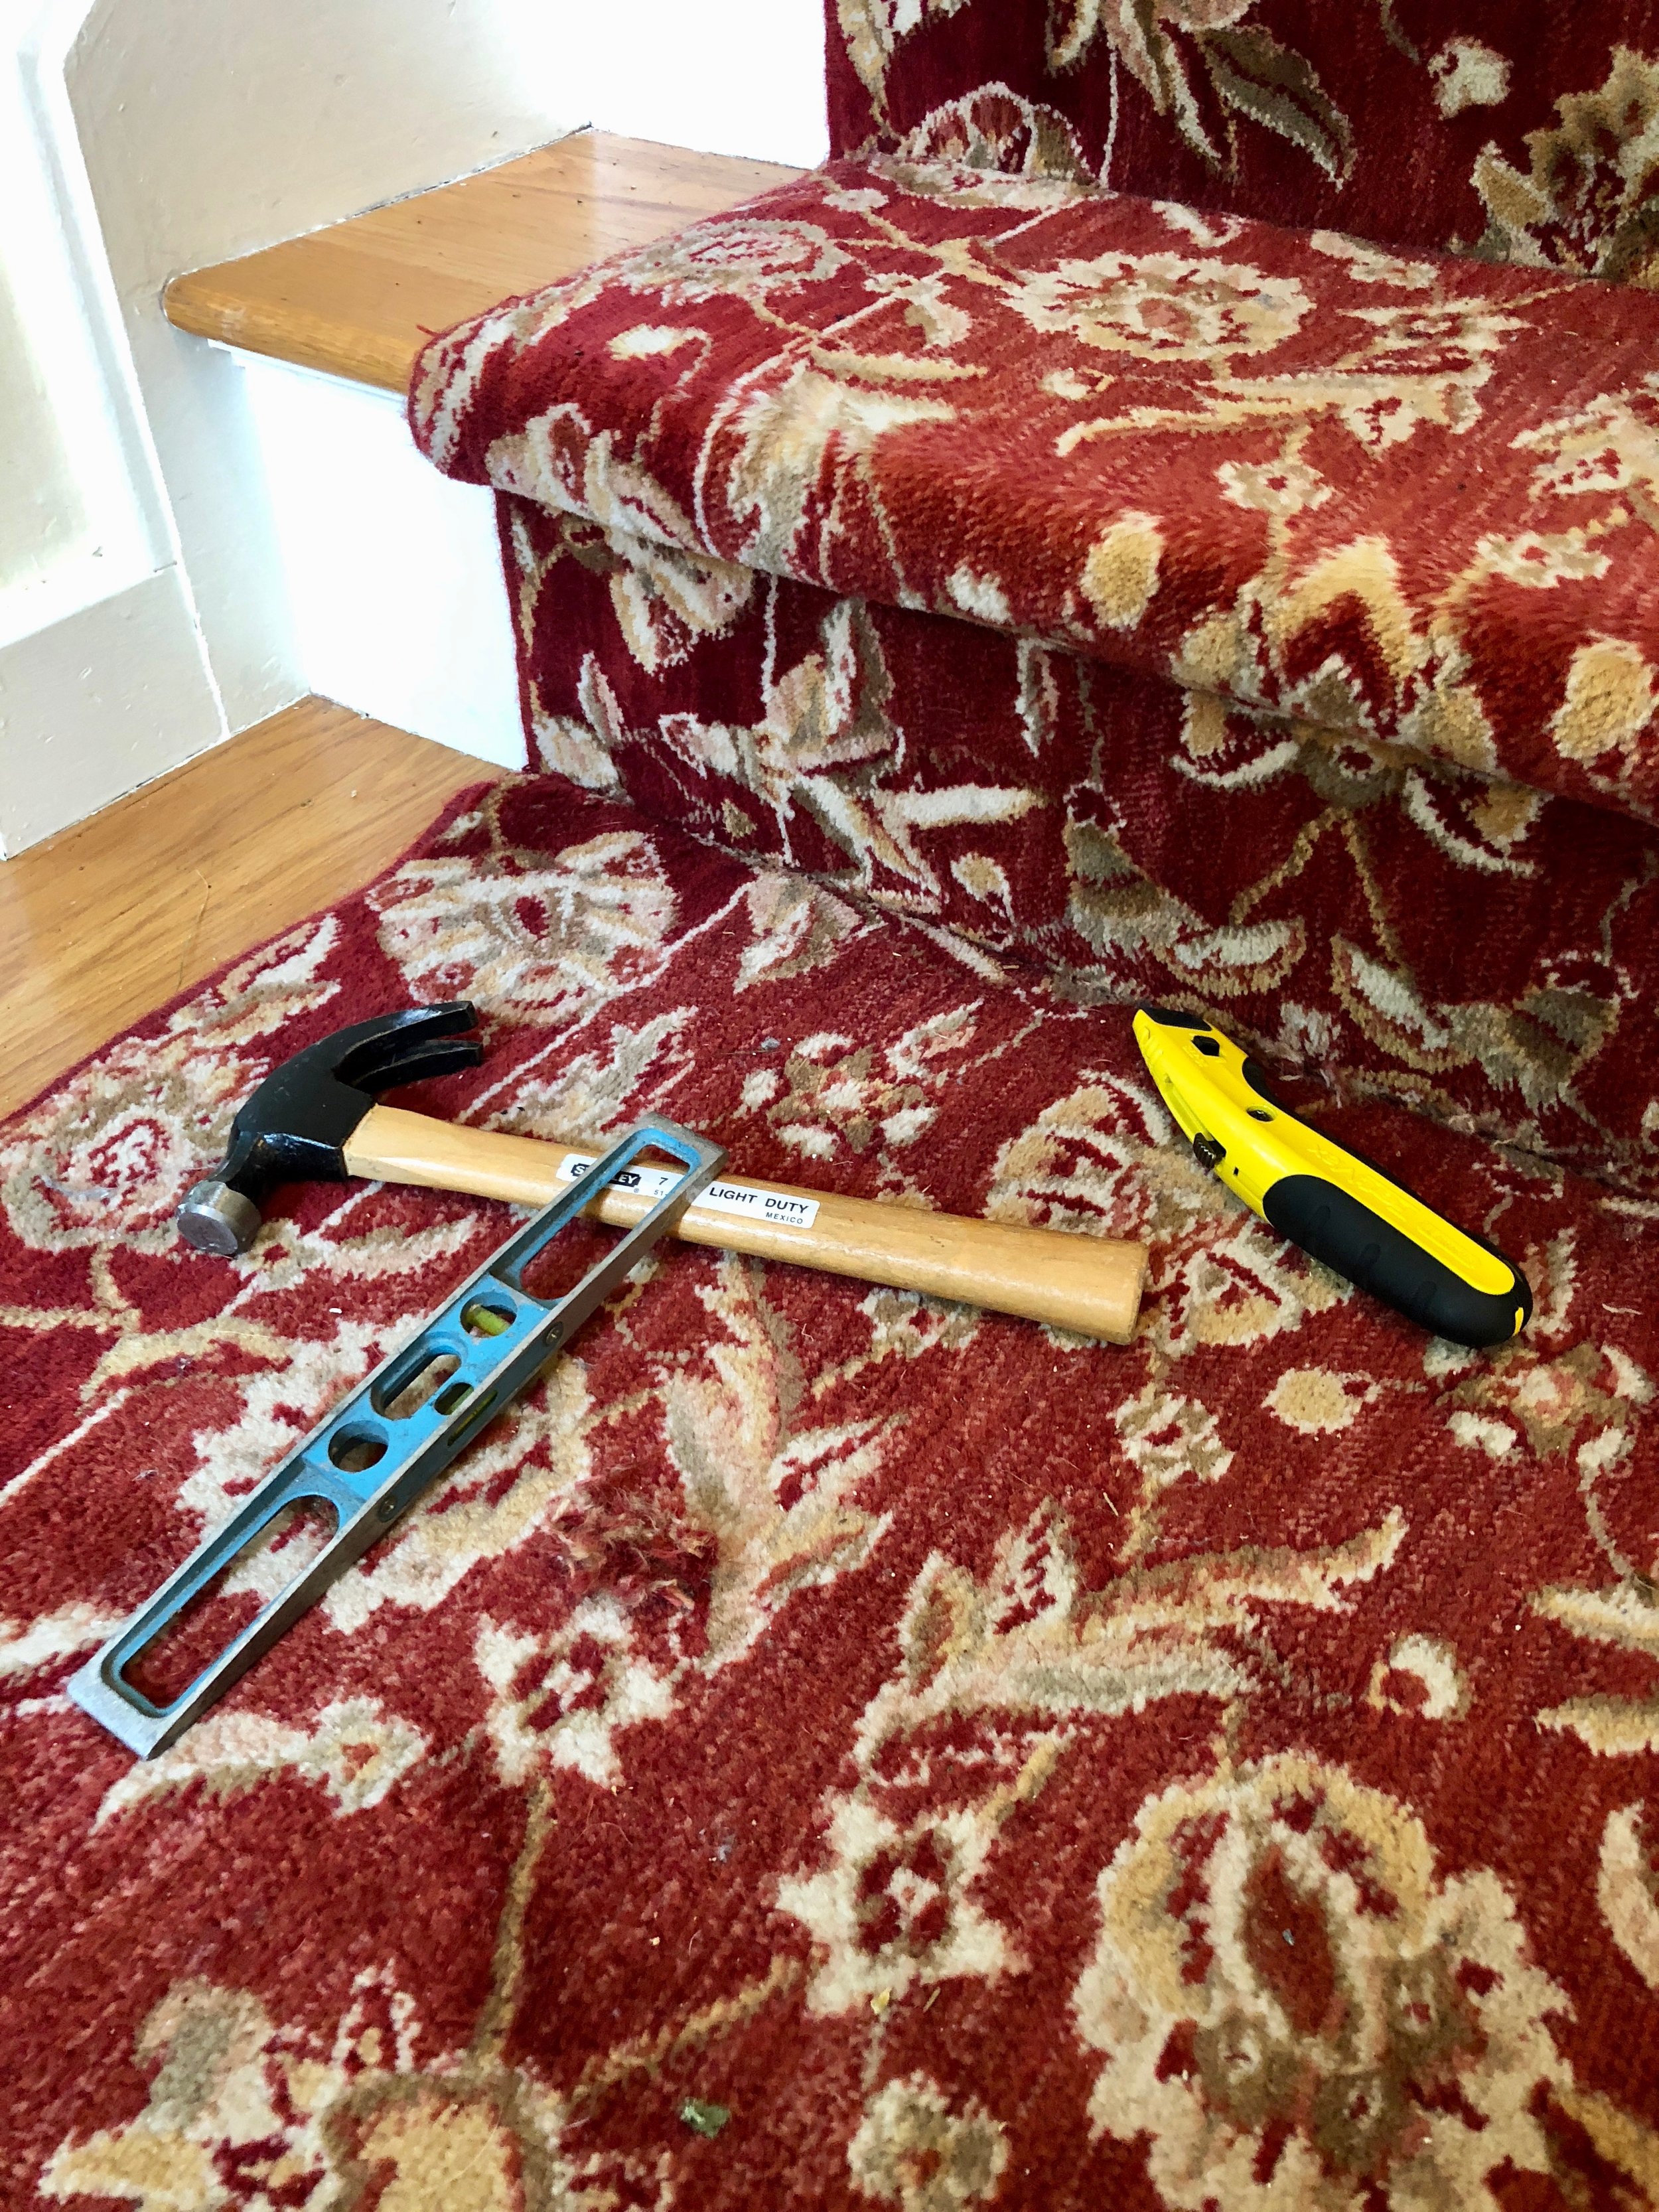
The first phase of this project was to separate the floor runner from the stair runner. I was hoping a seam was already there to pull apart, but if there was, it was tacked down so well that I was unable to split them apart. I took care to slice my own seam with a sharp utility knife and straight edge so that I could then pull the floor runner up and away from the first stair riser.
I did not take any photos of the floor runner removal, but as I mentioned before, it took a lot longer than I thought and this girl was totally spent and exhausted once it was up. The carpet runner was customized for this particular hall and pieced together in a "T" shape. I ended up needing to cut it in smaller segments in order to roll it up small enough to carry out easily. Remember that I mention the razor-like staples? I felt like I was wrestling a porcupine and it was winning this round.

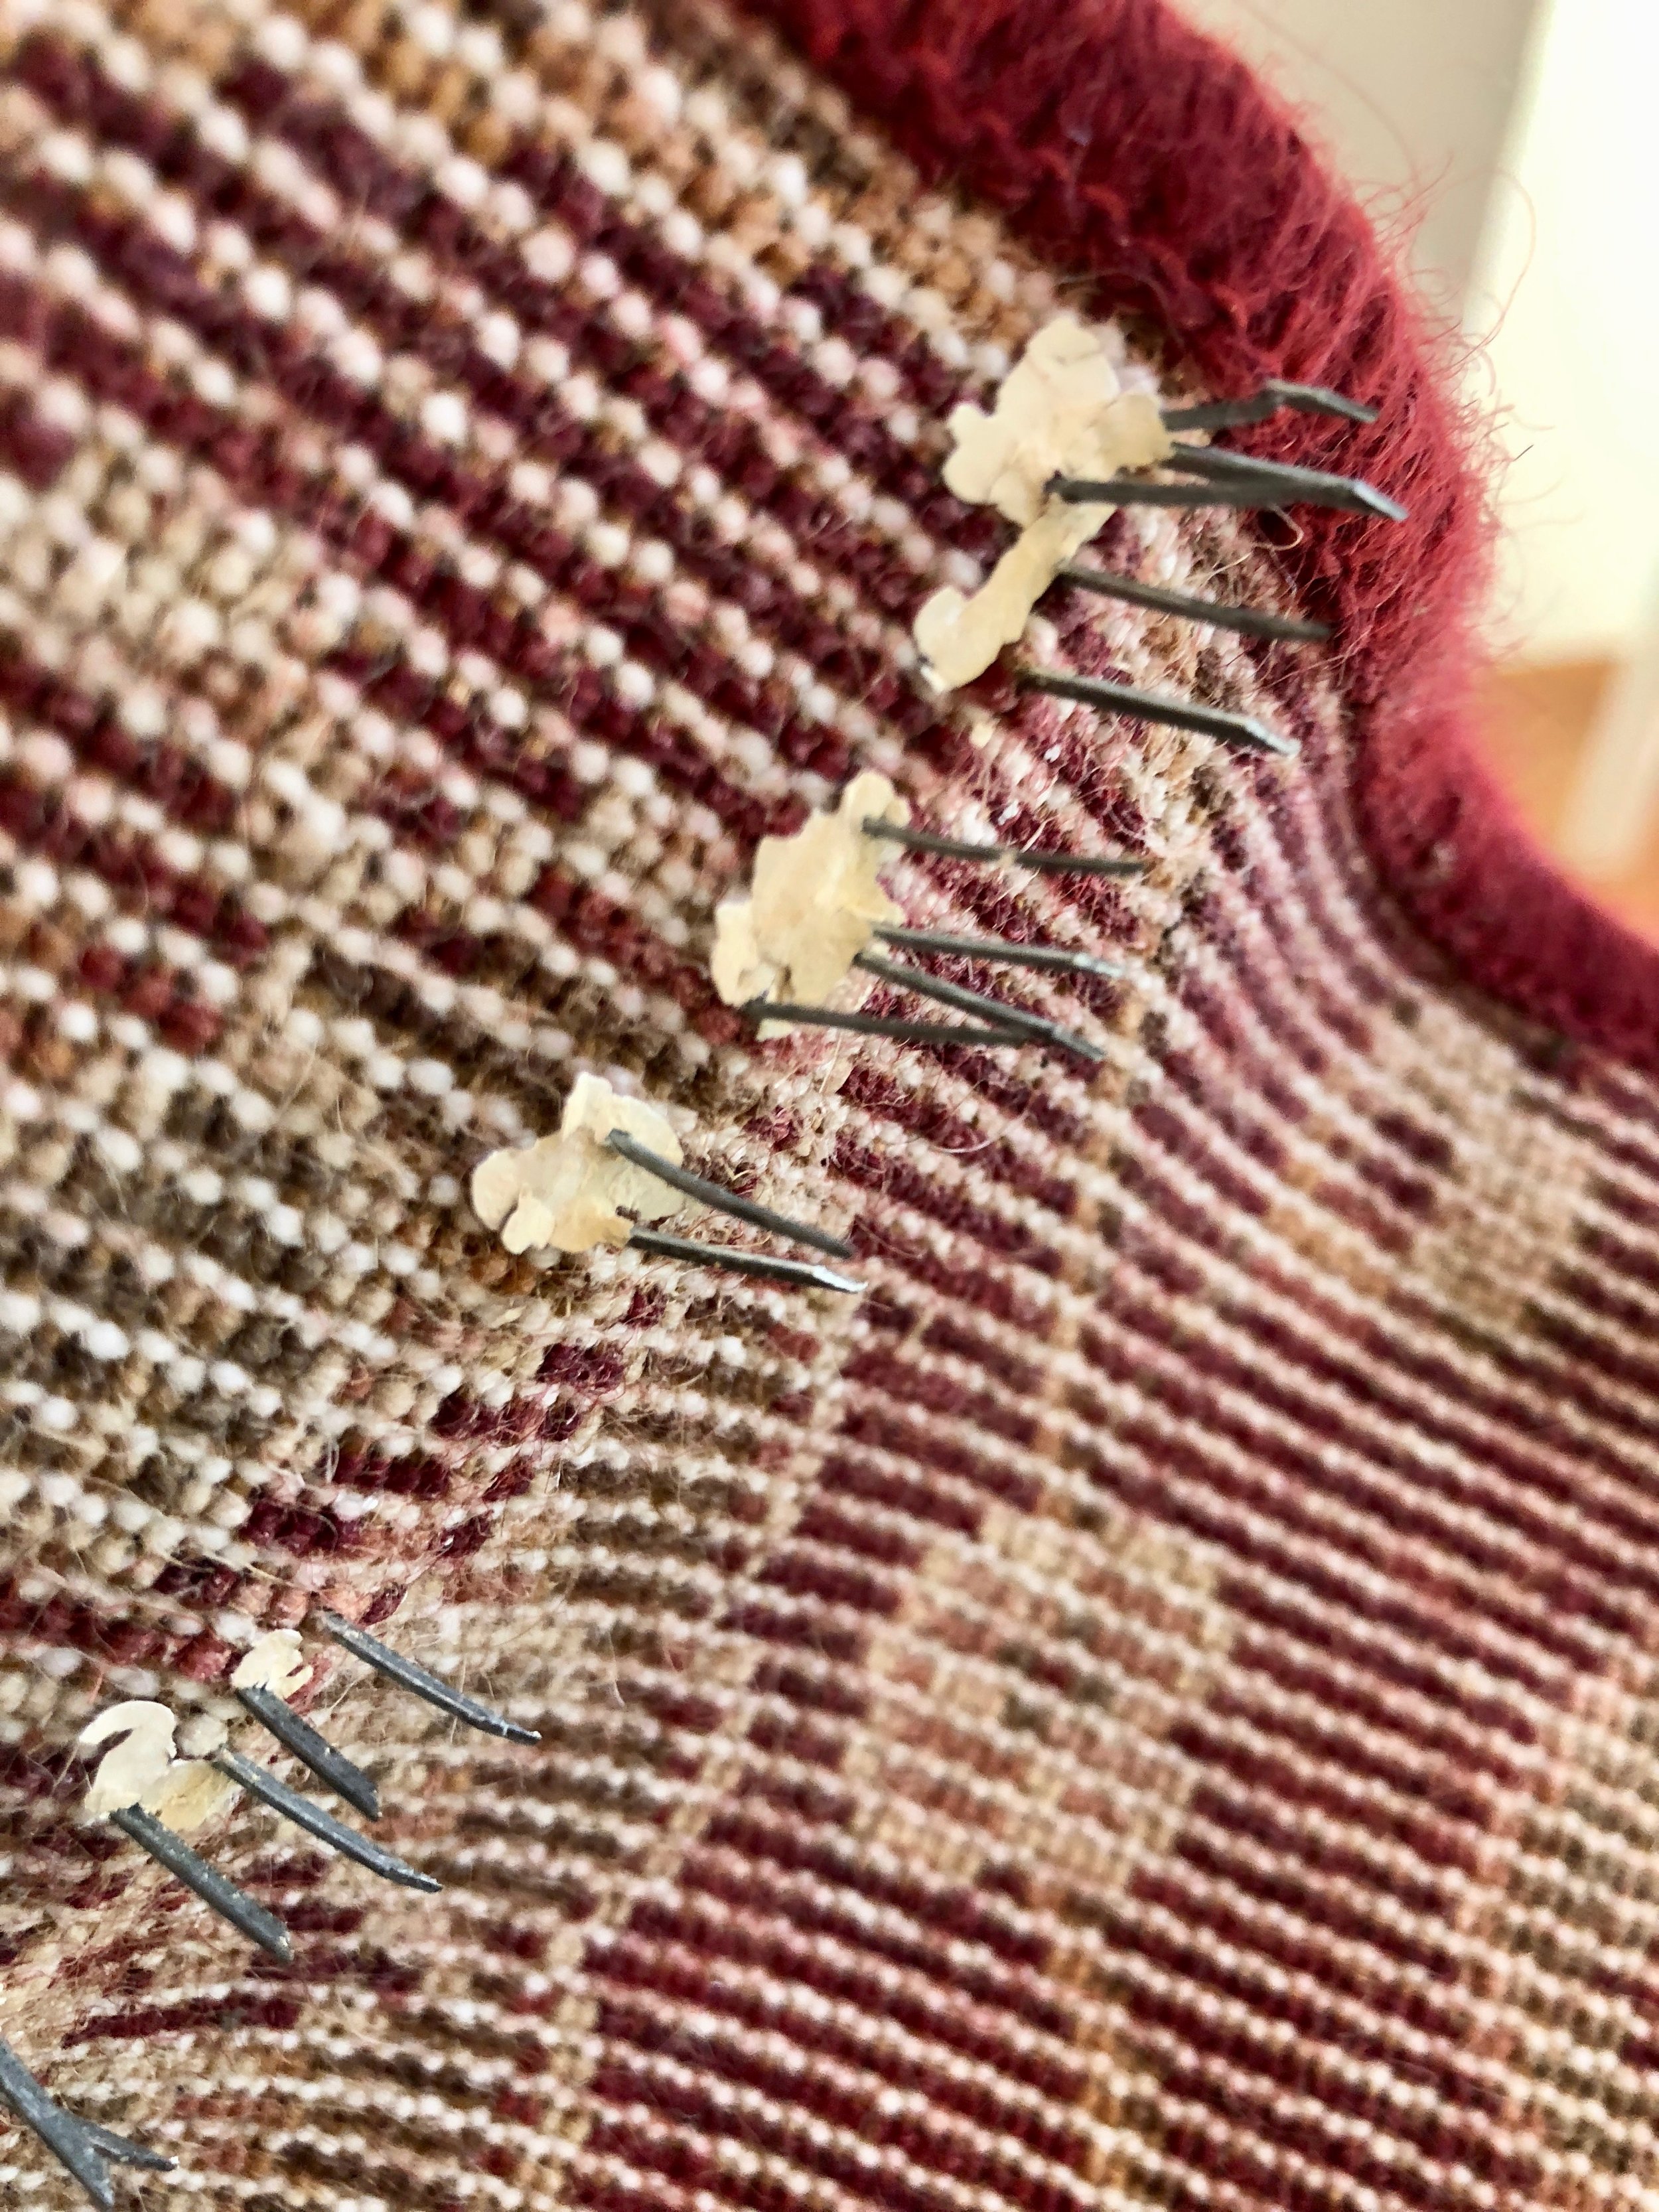
Check out the sharp points and razor edge on these carpet staples! Yikes! Oh, and yes, I had to then remove carpet pad that was also tacked down.
Phase one complete. The floor runner is up and the floors received a good cleaning. I should have mentioned before that my hopes were to save the carpet runner for someone else to enjoy, but once I pulled it up and saw what was underneath, I decided against it. I love the look and feel of carpeting underfoot, but a carpet in a heavy traffic area, especially one that is exposed to outdoor elements, such as a front foyer, it gets a bit.... well gross. I can't tell you how many carpets and runners I have pulled up in homes we purchased or those of my design clients and found potential allergy causing situations. Even in the cleanest homes that, I have found not only trapped sand and dirt under the carpets, but dead bugs and mold.

Before I go on, I wanted to mention that at some point I will be replacing the runner and floor runner, but the floor runner will be loose so that I can roll it up and have it cleaned professionally if and when needed. The carpet runner will of course be attached, but I will be looking for a tight weave to help lessen the amount of debris that can work its way through to the wood.
I left the carpet runner alone thinking I would leave it there until I was ready to complete the foyer makeover and look for a new runner, but what can I say.... I am not very patient and pulled it off a few days later.
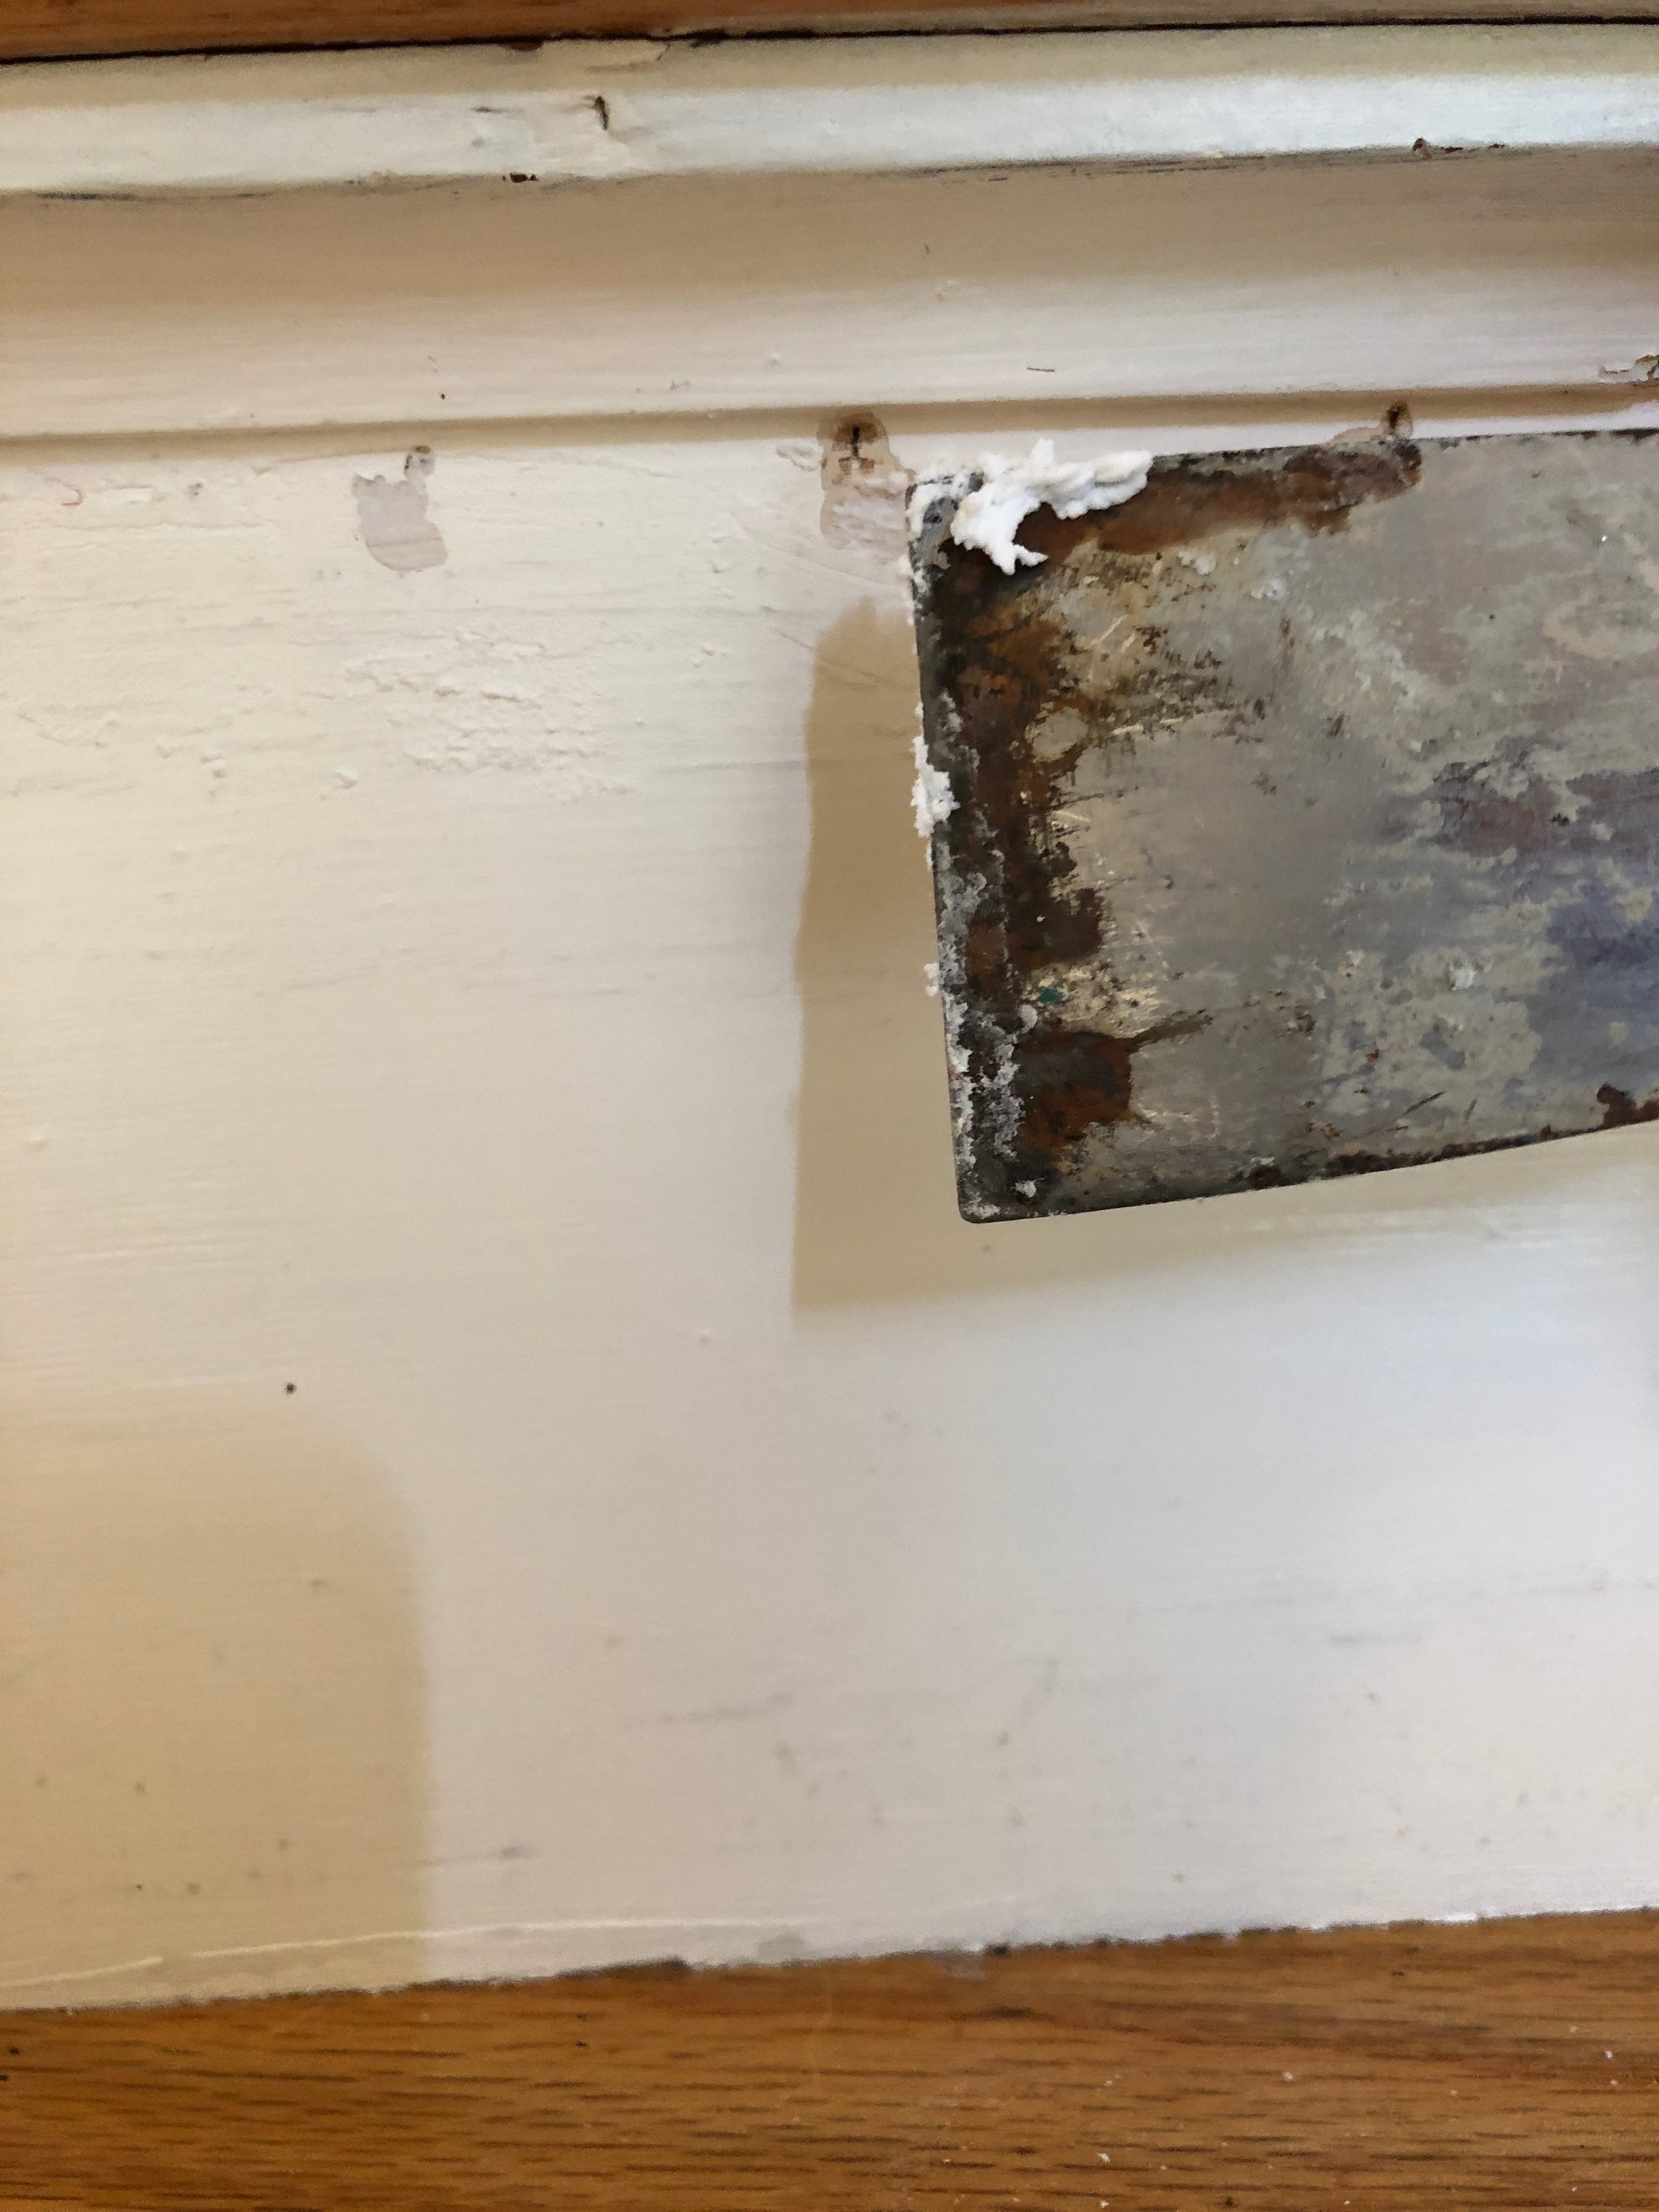
Below is a photo of the stair risers that were full of holes from the staples and tacks. At this time, I started to prep the holes to be filled so that I could then paint the face of the riser.


I used a putty knife to scrape off any loose paint chips left behind from pulling off the carpet and any left over carpet fuzz that had stuck to the paint.


I gave the stair risers a quick sanding then proceeded to fill the holes with a light-weight spackling filler. I love using this product. I have not only filled small holes with it, but I have repaired decorative picture frames and other wood items with it such as this.
After the holes were filled, I let them dry before giving them a light sanding.

Once the holes were sanded, I like using sanding blocks, and the woodwork was wiped clean of any debris or sanding dust, I primed the the face of the stairs to prep them for their final coat of satin paint.

There is still much to do to this front foyer and stairway, but I am tackling several projects at once, just to help us feel like the house is our home vs all of the other previous homeowners.
1. I will be painting the walls and the hand railing that is attached to the wall will be painted the same color, but in a semi-gloss, to help it fade away. I thought for sure I was going to take off the wall railing, but after the first day of going down the stairs, I knew it was a keeper since the hand rail on the other side stops half way.
2. The stair treads will be sanded and prepped for a deeper stain such as walnut.
3. The hand rail and newel post will be painted black like in my past two homes.
4. The floor.... this is a tricky one since it touches 5 other rooms, but that said, all of the rooms have different floors, so I guess whatever I do will work if carefully executed. I would love to see it a deeper cool brown tone or possibly painted with a large checkered pattern. Since these floors are not old, I have no hard feelings about modifying them.
5. Select new carpet runner and install.
Caring for your carpet
It sounds simple, but use a door mat inside and out. It will help trap some of the dirt coming in.
Vacuum, vacuum, vacuum! If possible daily (do as I say not as I do! LOL). I am currently using a higher-end Shark, but there are a lot of great vacuums out there.
Clean any spots or spills immediately and make sure you dry the area as much as possible. I like to put a thick Terry towel over the cleaned area with something heavy on top to help wick up excess moisture a while before allowing it to air dry. I have also used a fan to help dry areas.
Have your carpet cleaned by a professional to get to what your vacuum can't. Heavy extraction of soil, allergens, and pollutants is a must for a healthier home and carpet.